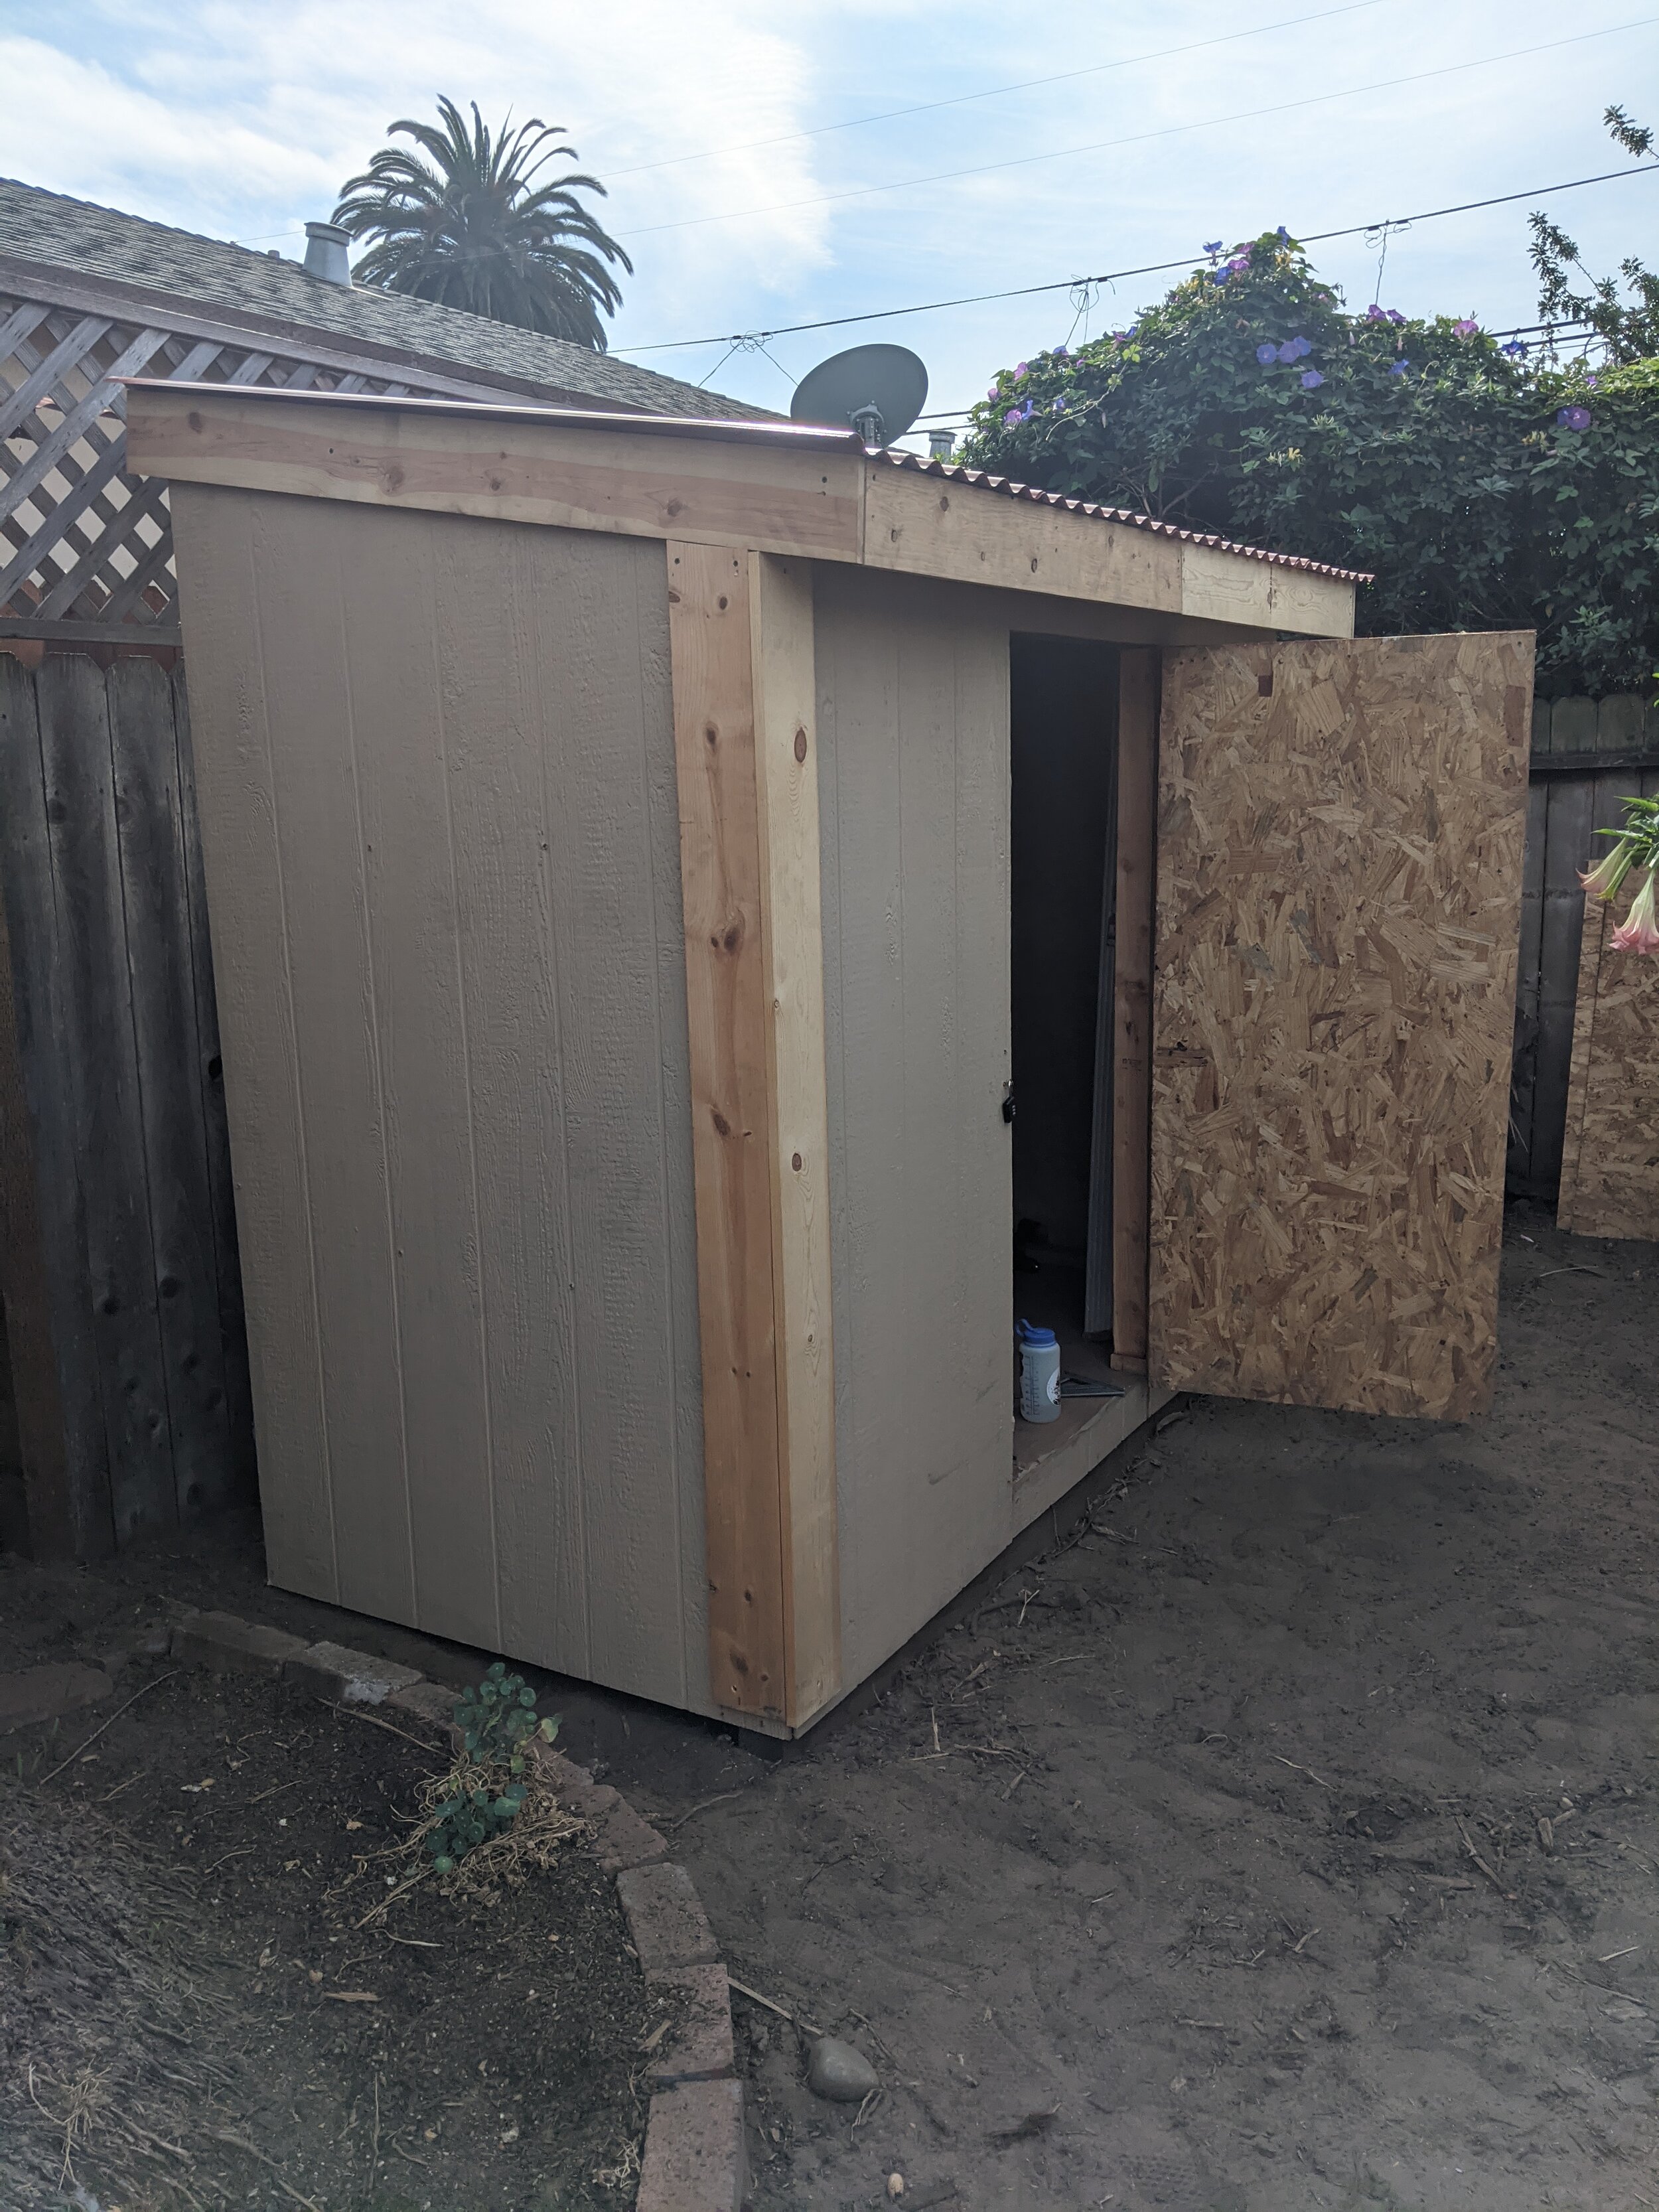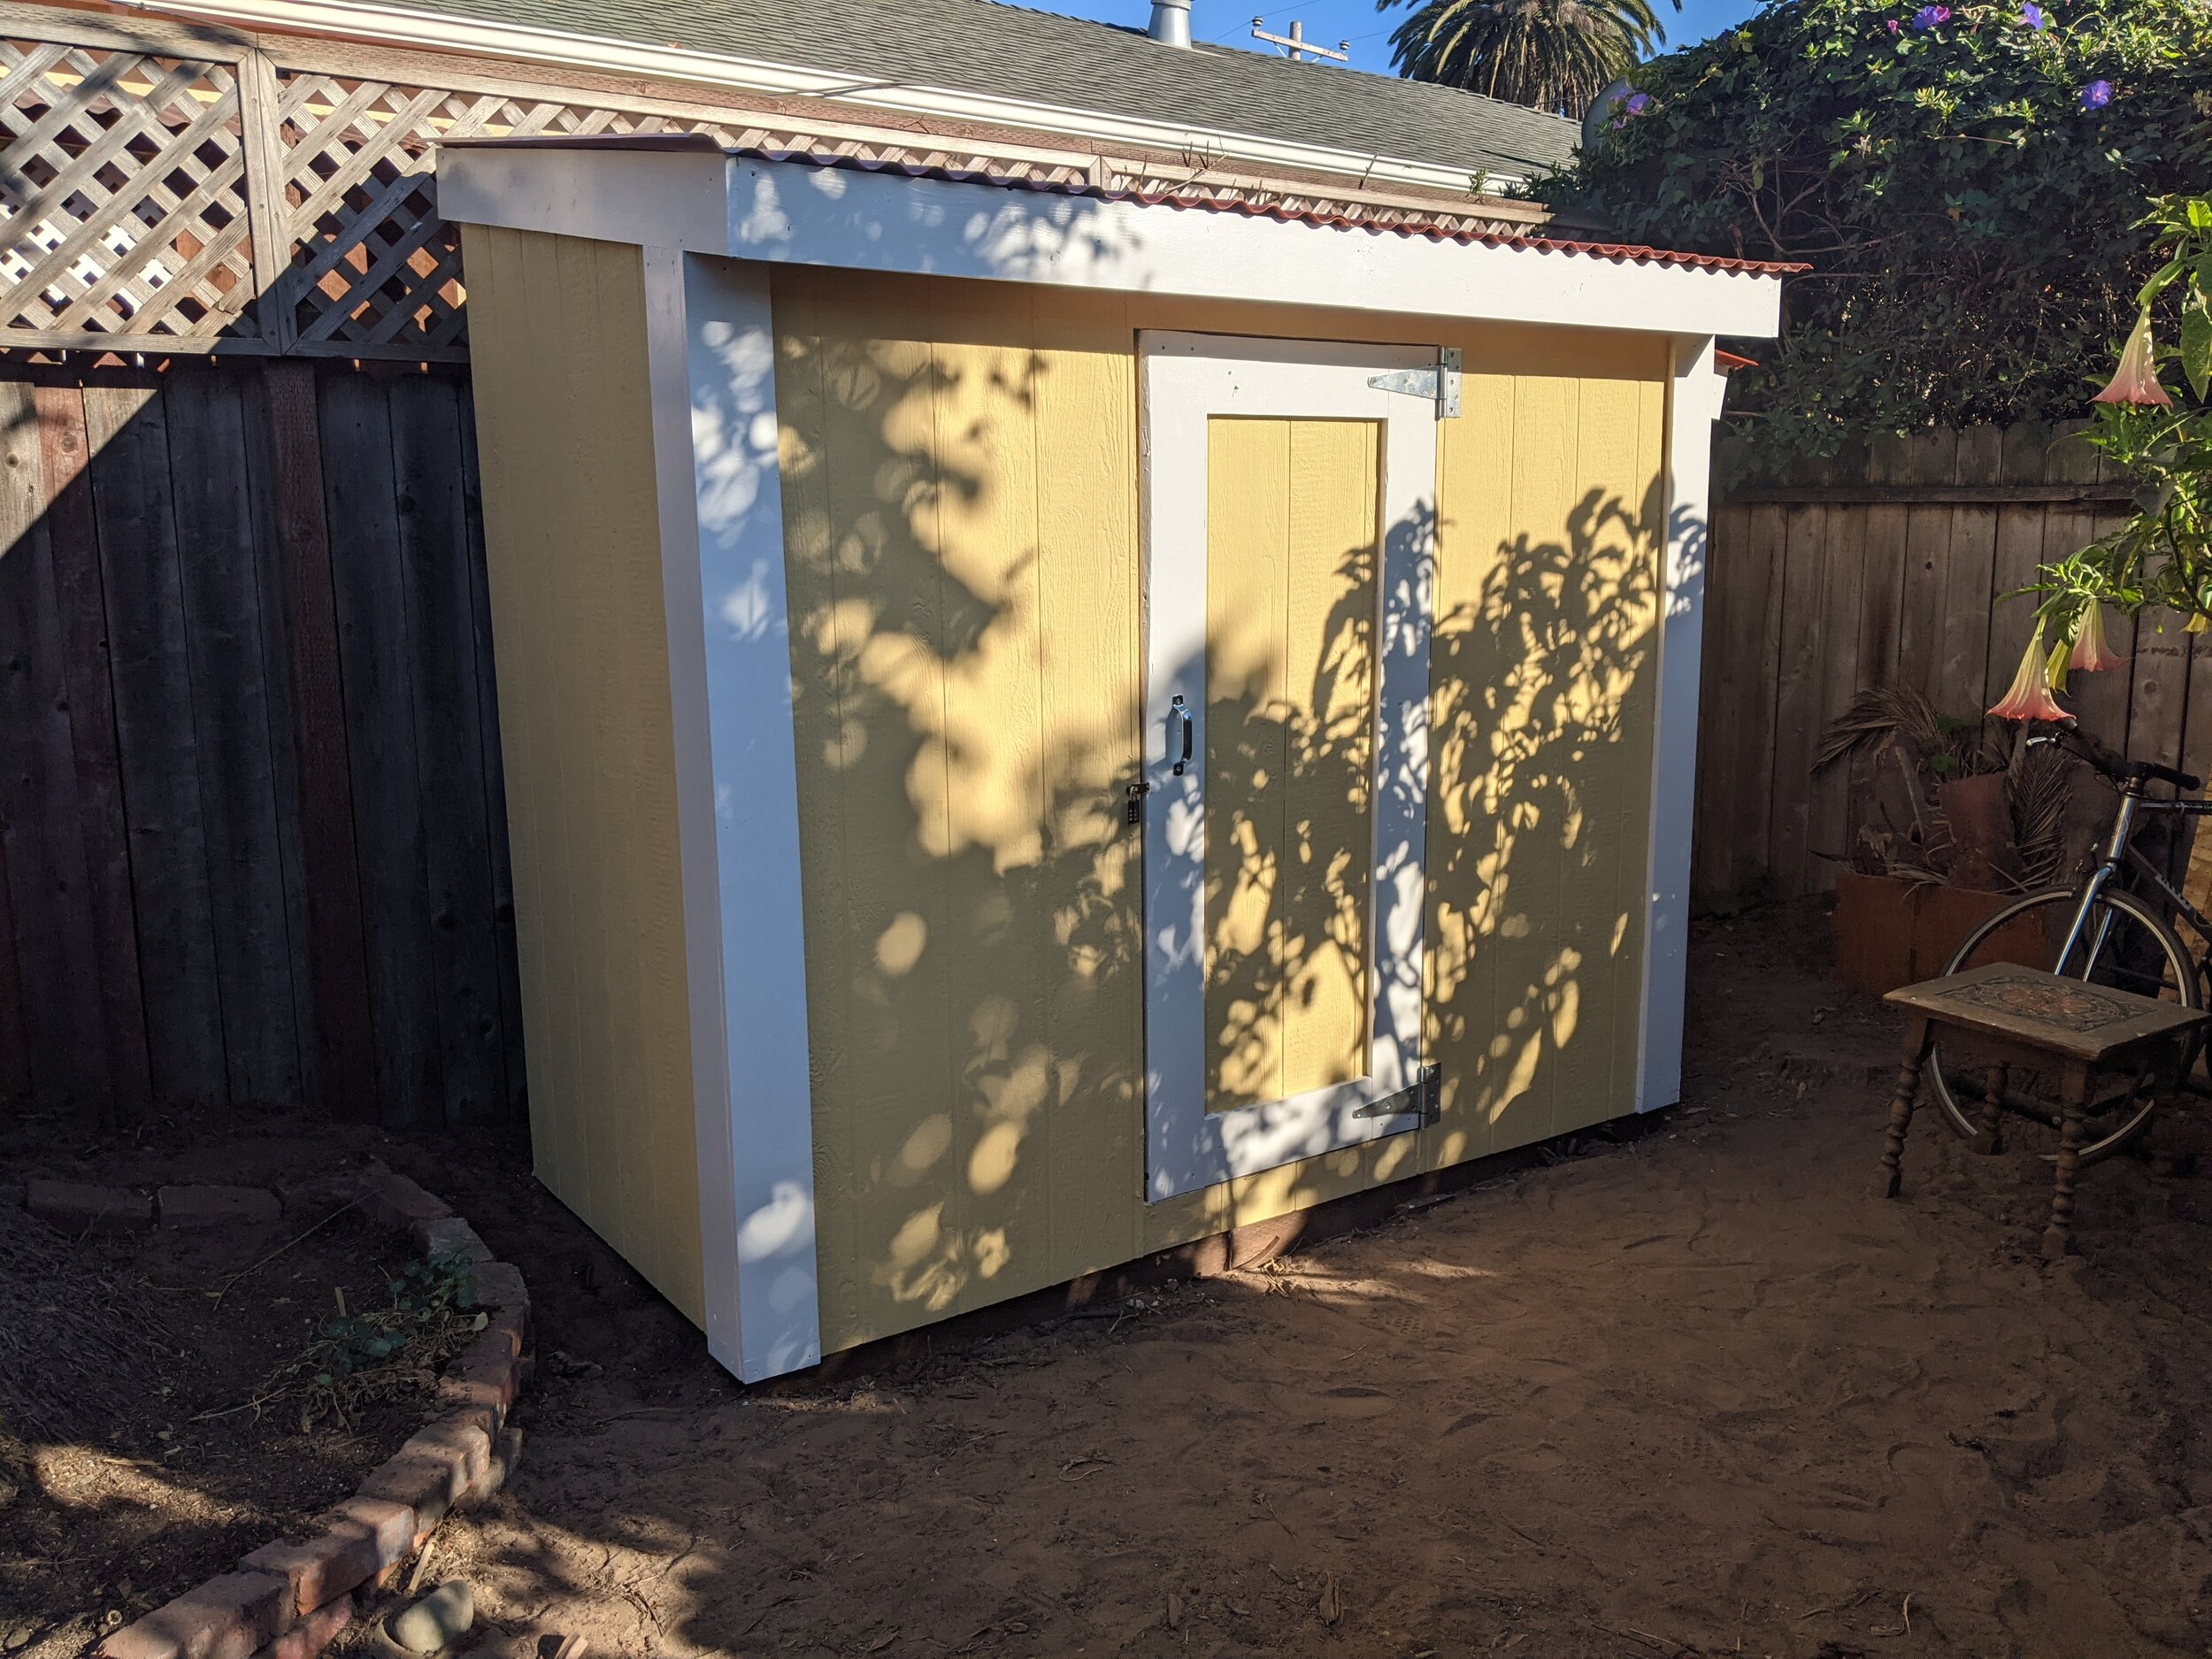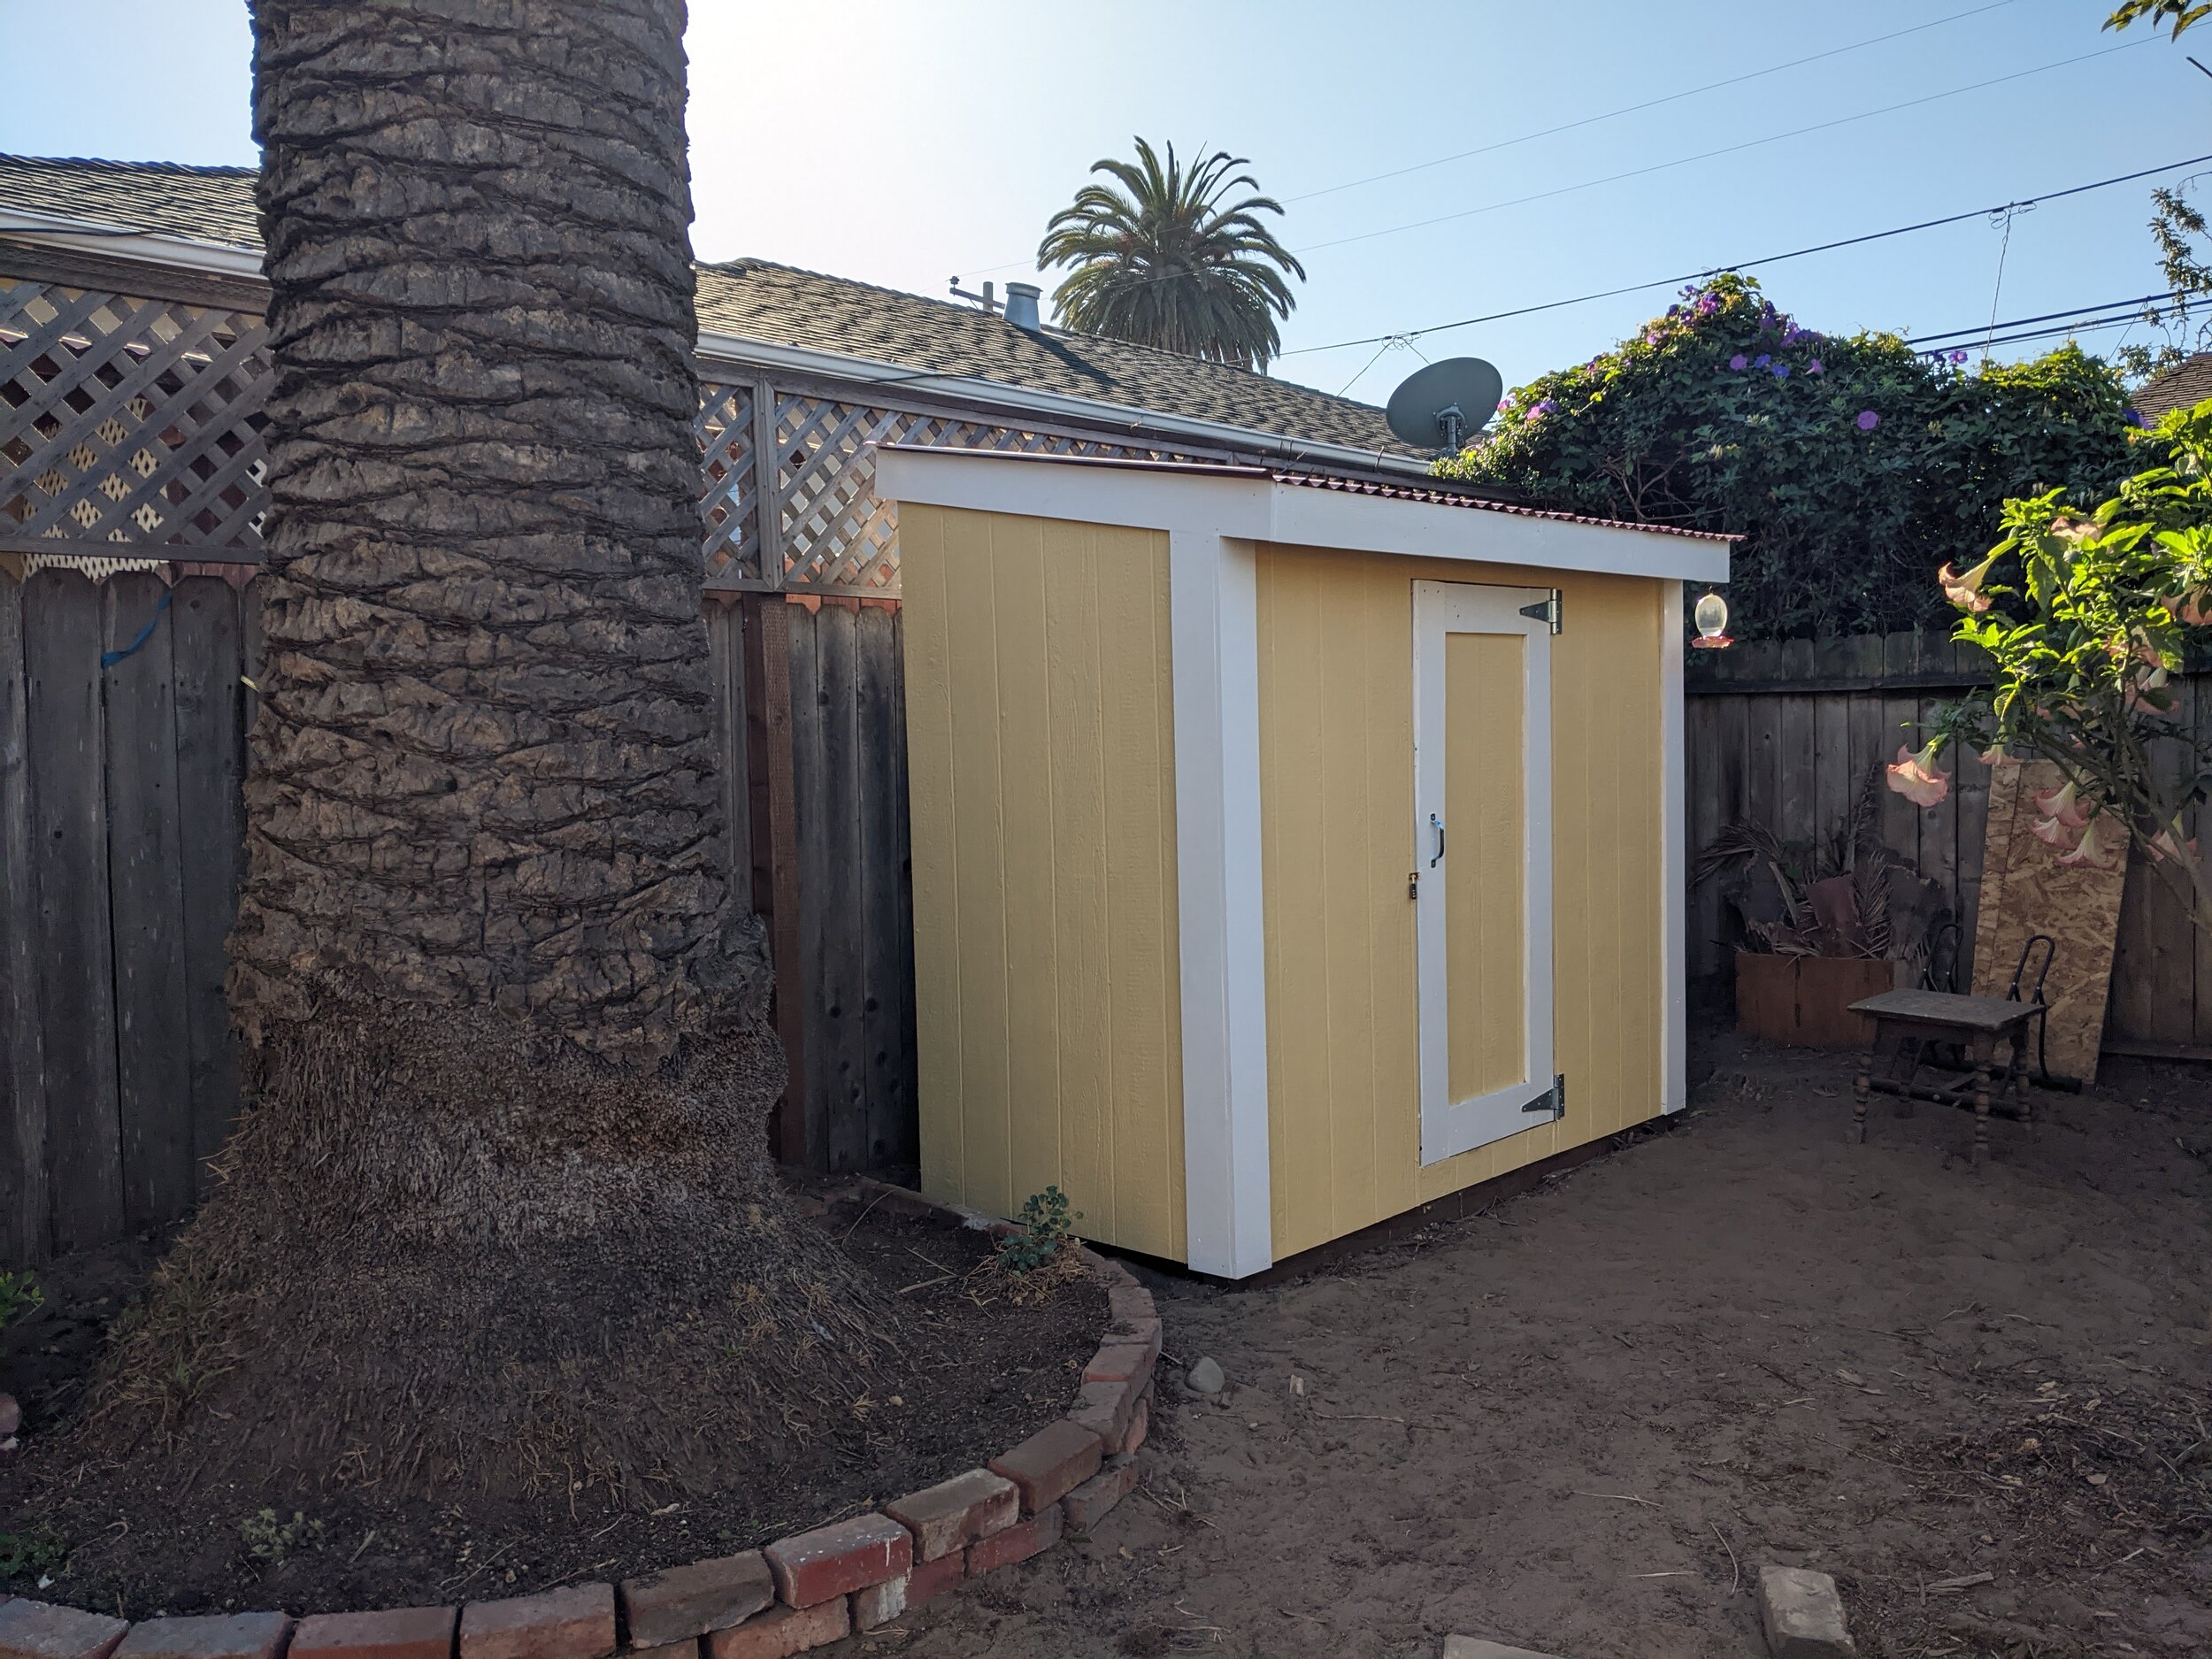
I designed and built a simple 4’ x 8’ shed for our yard. It was necessary to add more storage space to our home and has already proven extremely useful. It’s amazing how much you can fit in such a seemingly small space!
I was inspired by many DIY shed projects I found online, and although this is a type of shed you can buy prebuilt or as a kit, I loved the idea of planning and building the shed from scratch. For most projects, I typically design and build with precision, often starting with a lot of CAD design before beginning the fabrication process. Building a shed from only a few simple sketches and not focusing heavily on precision was a welcome change for me.
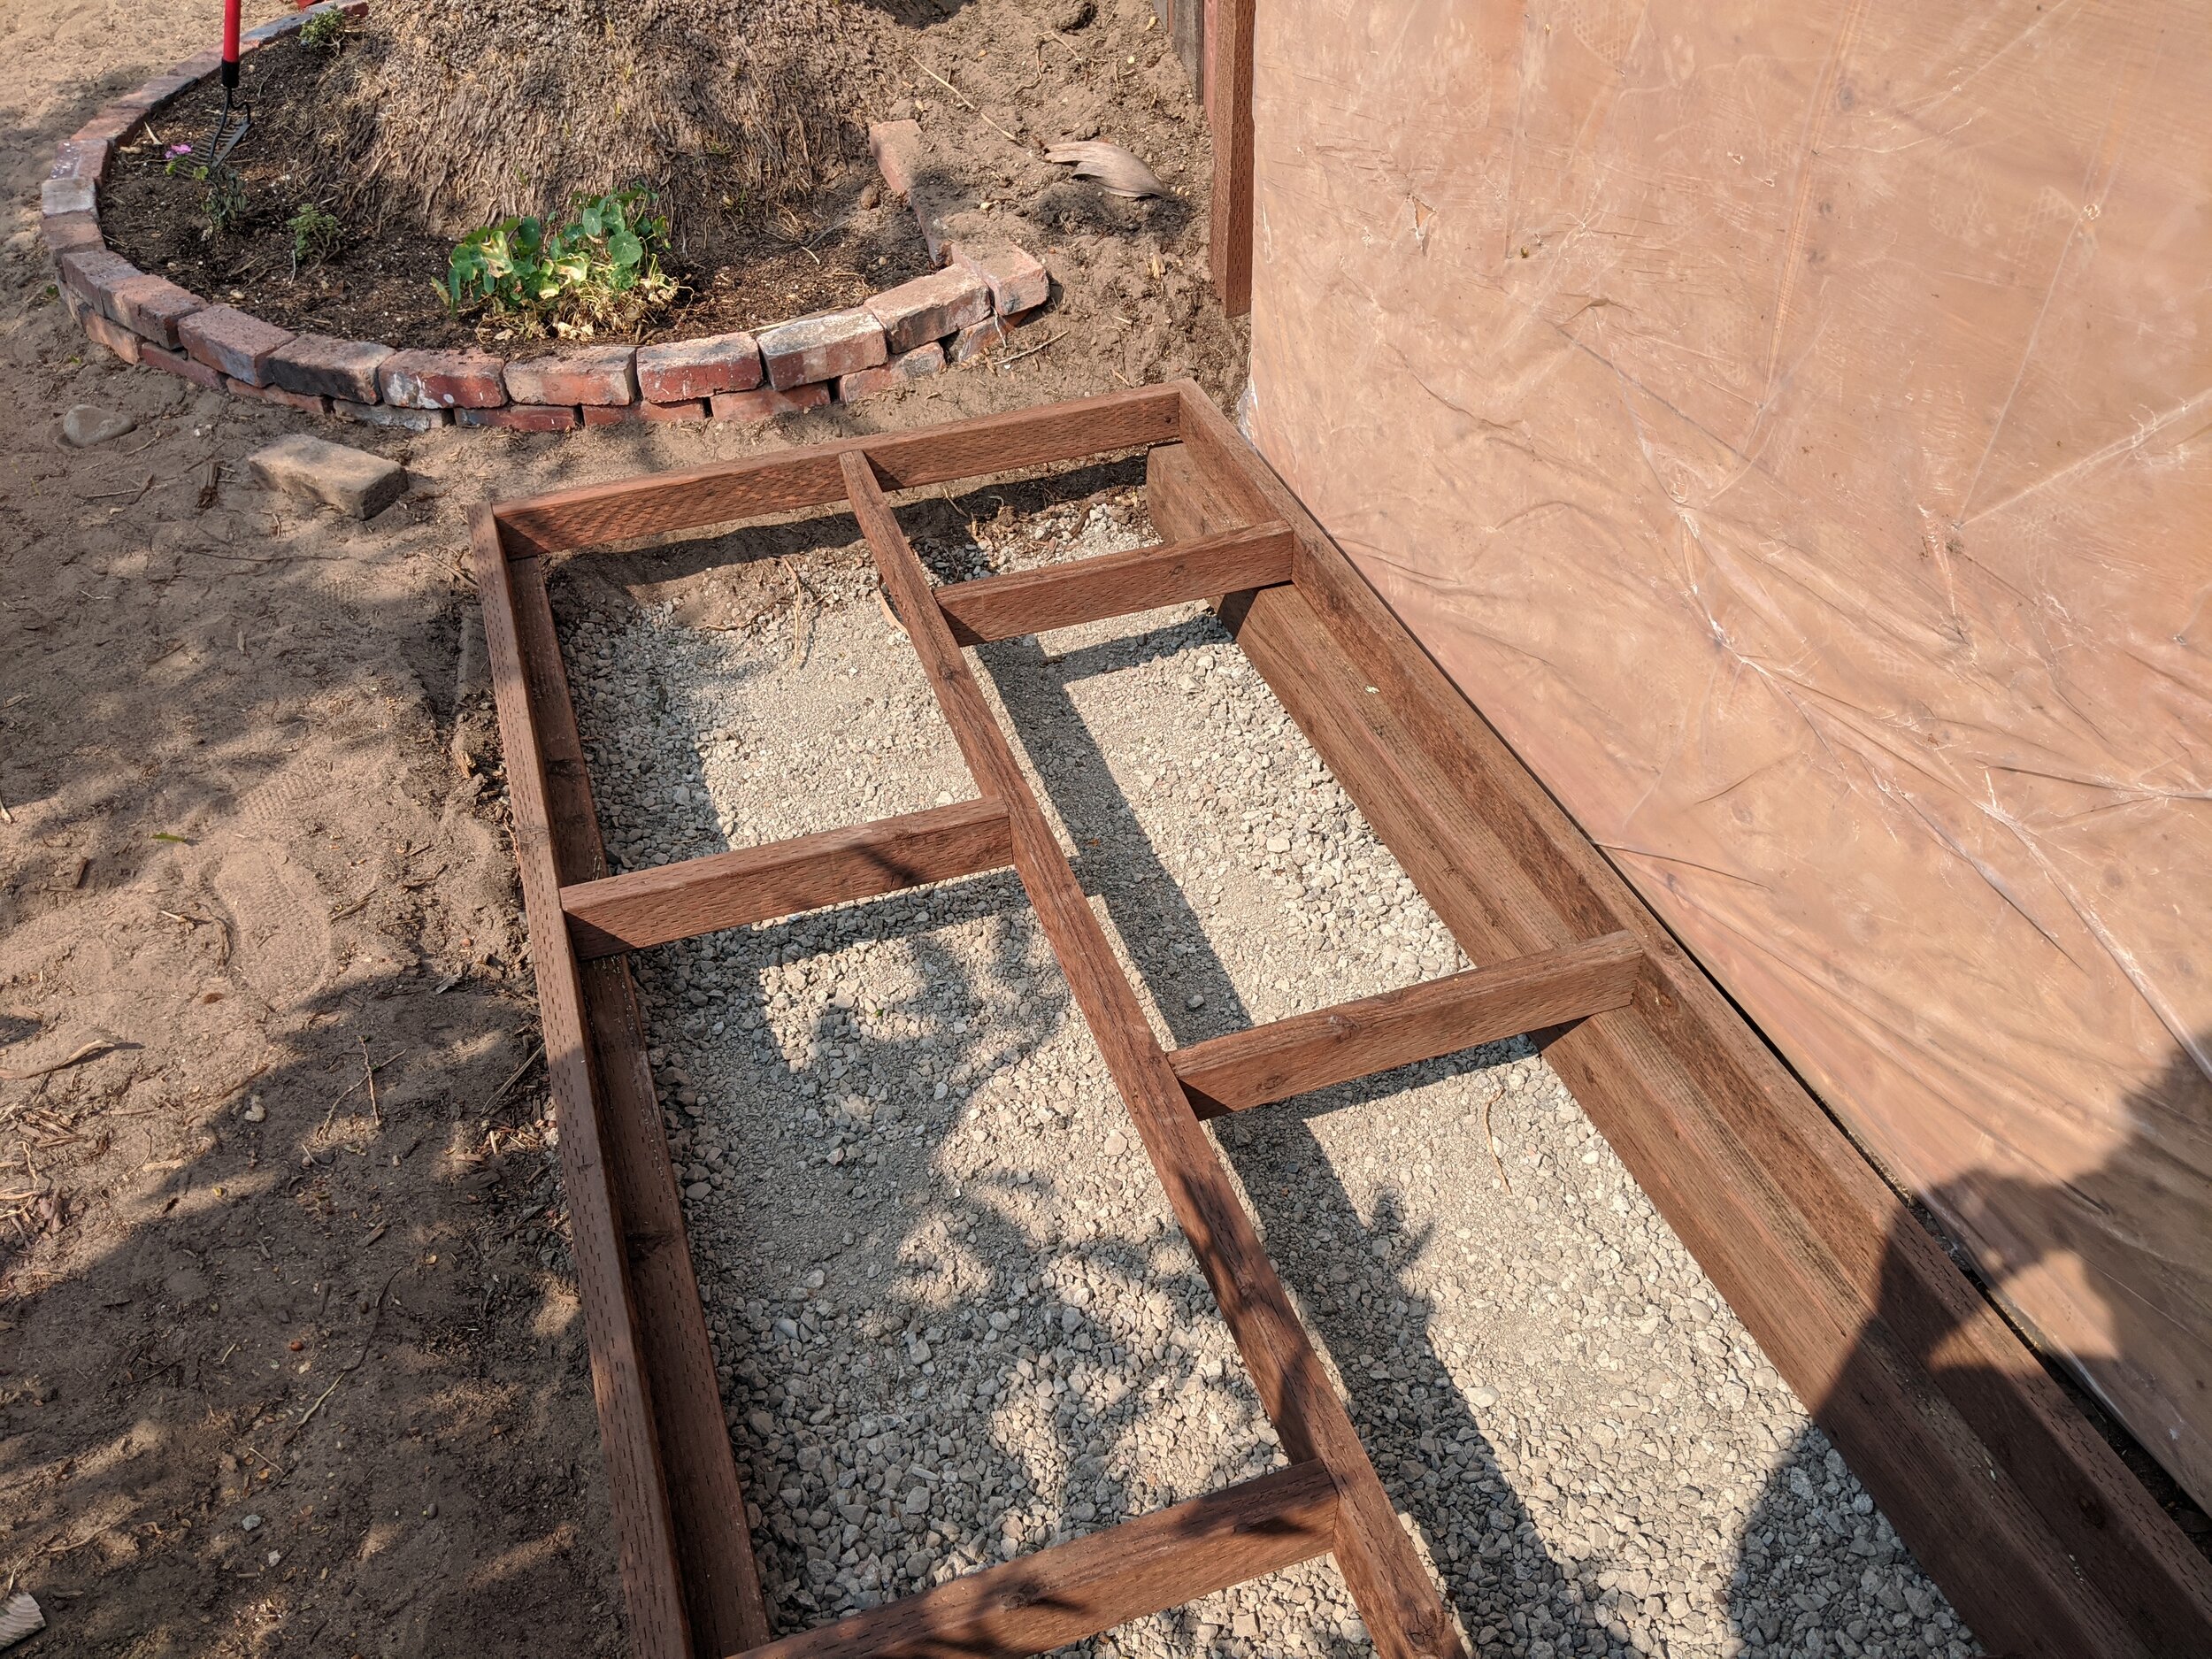
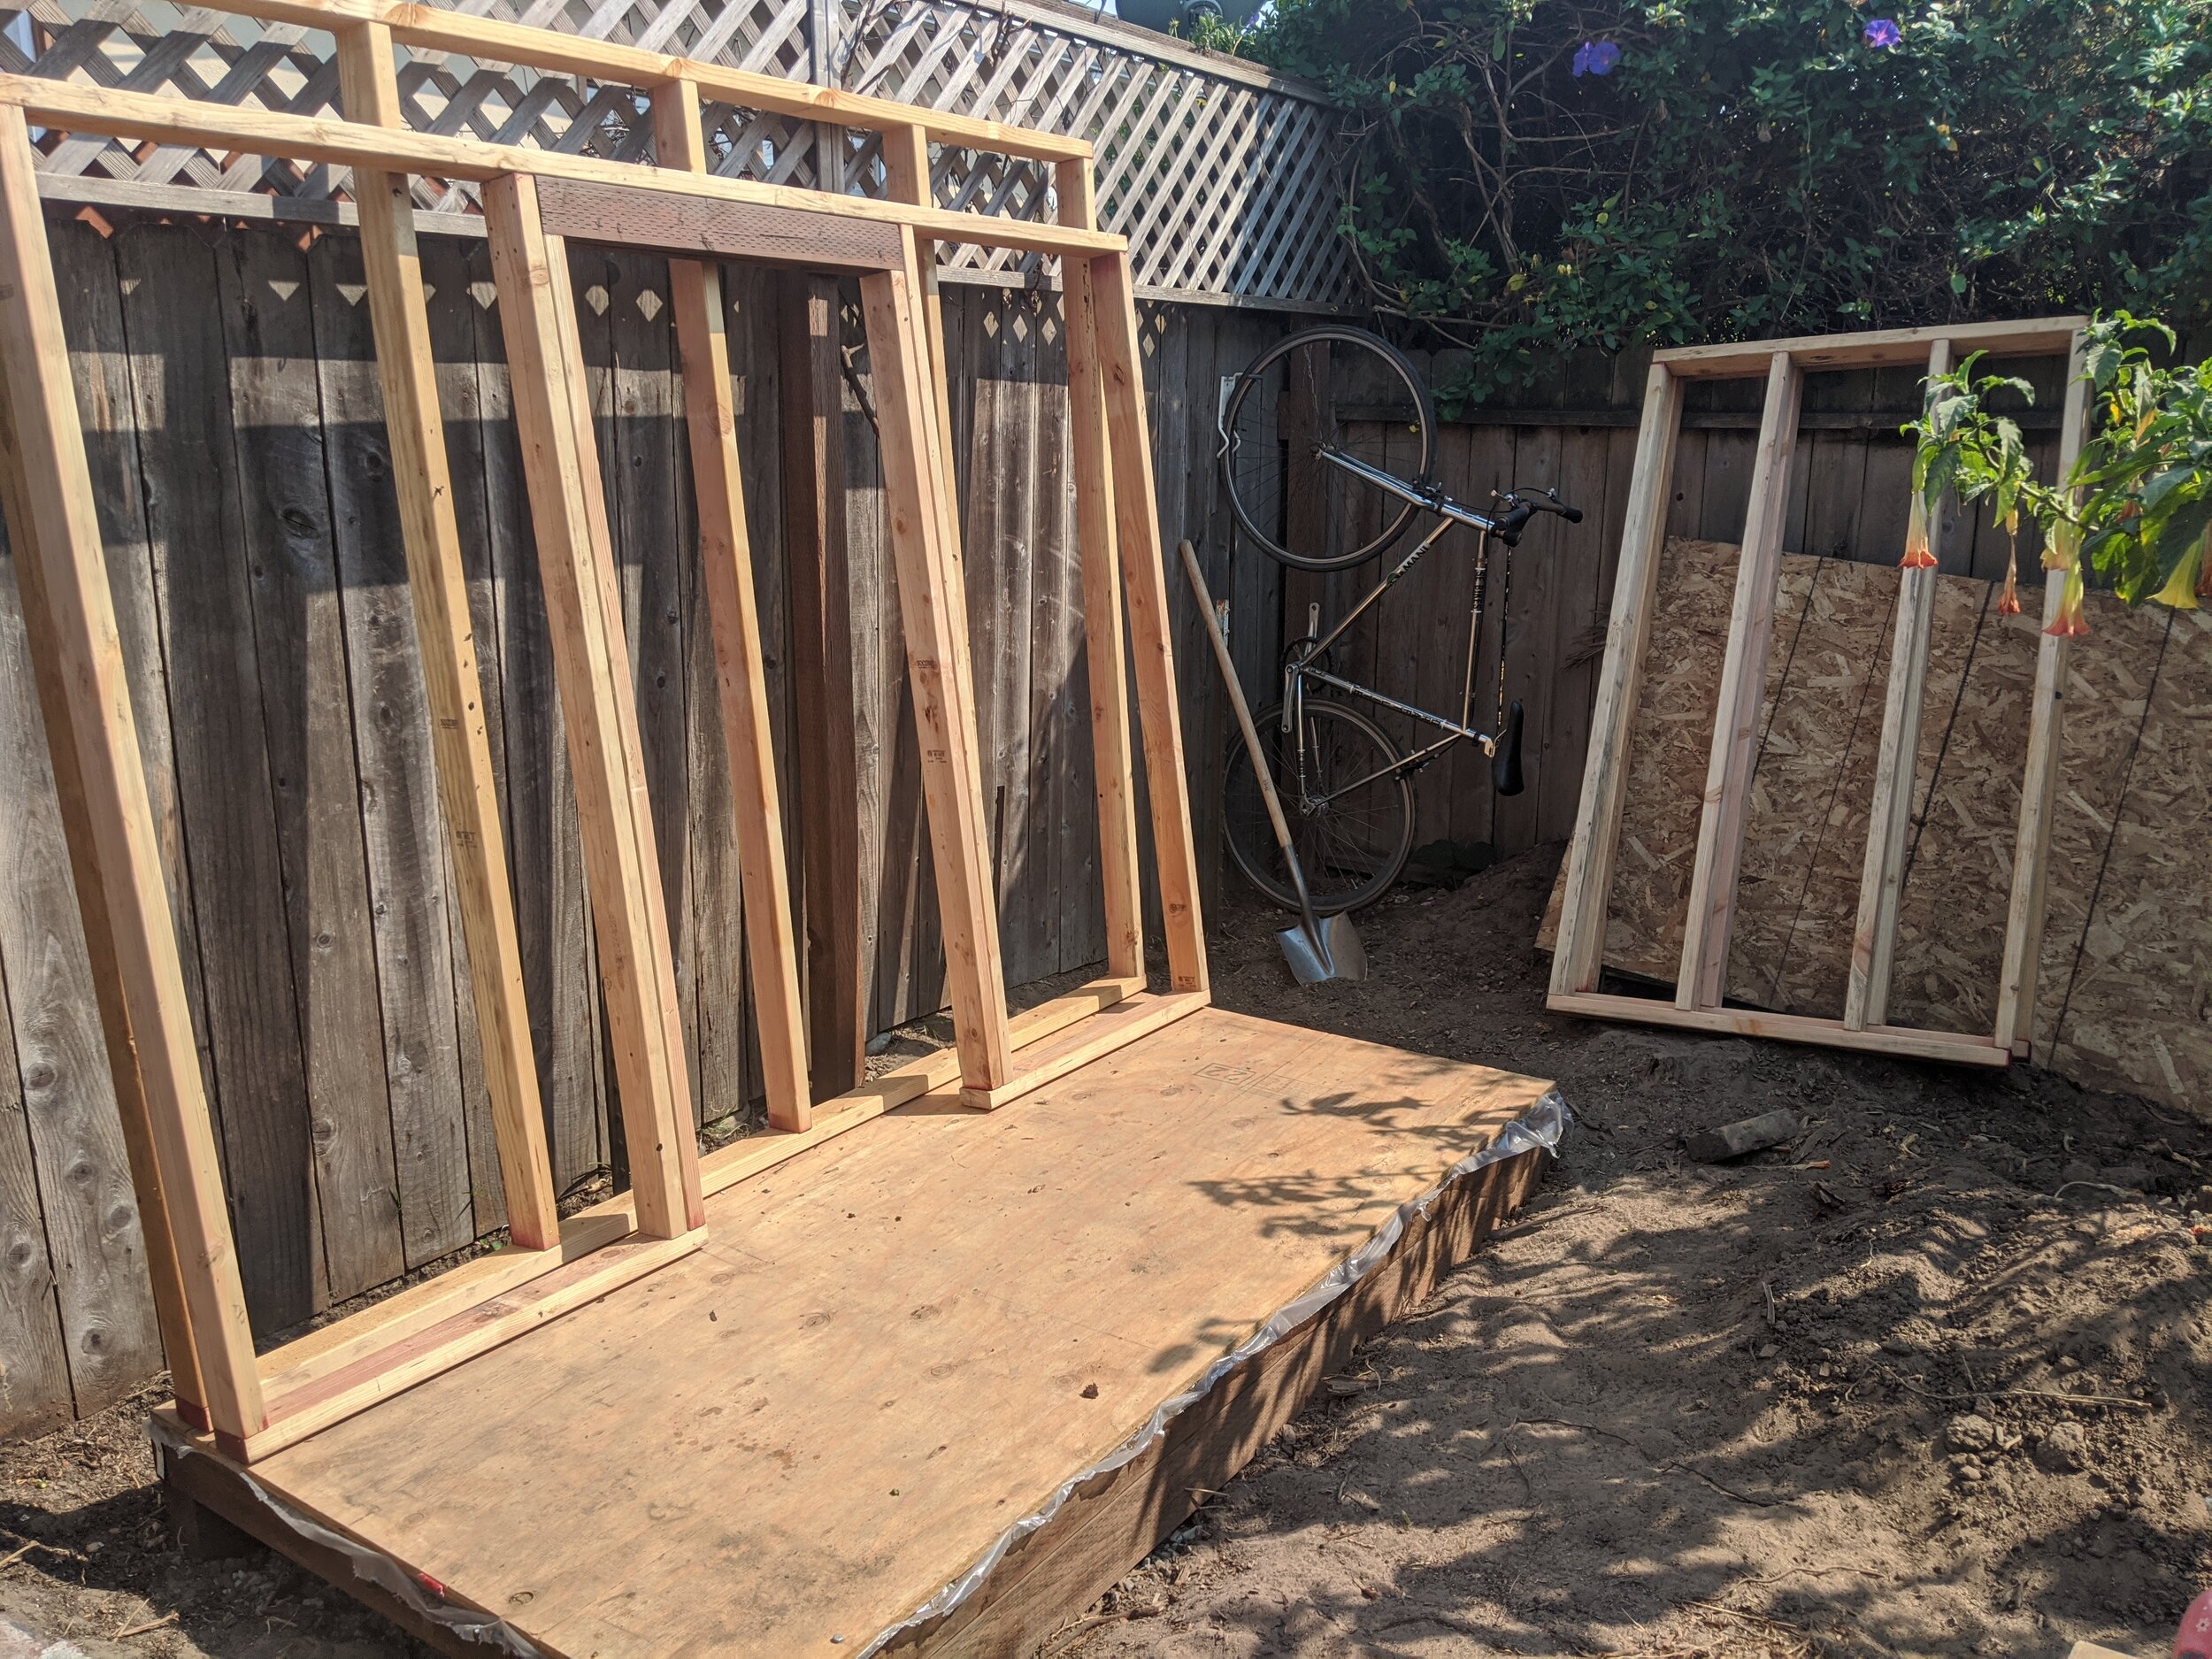
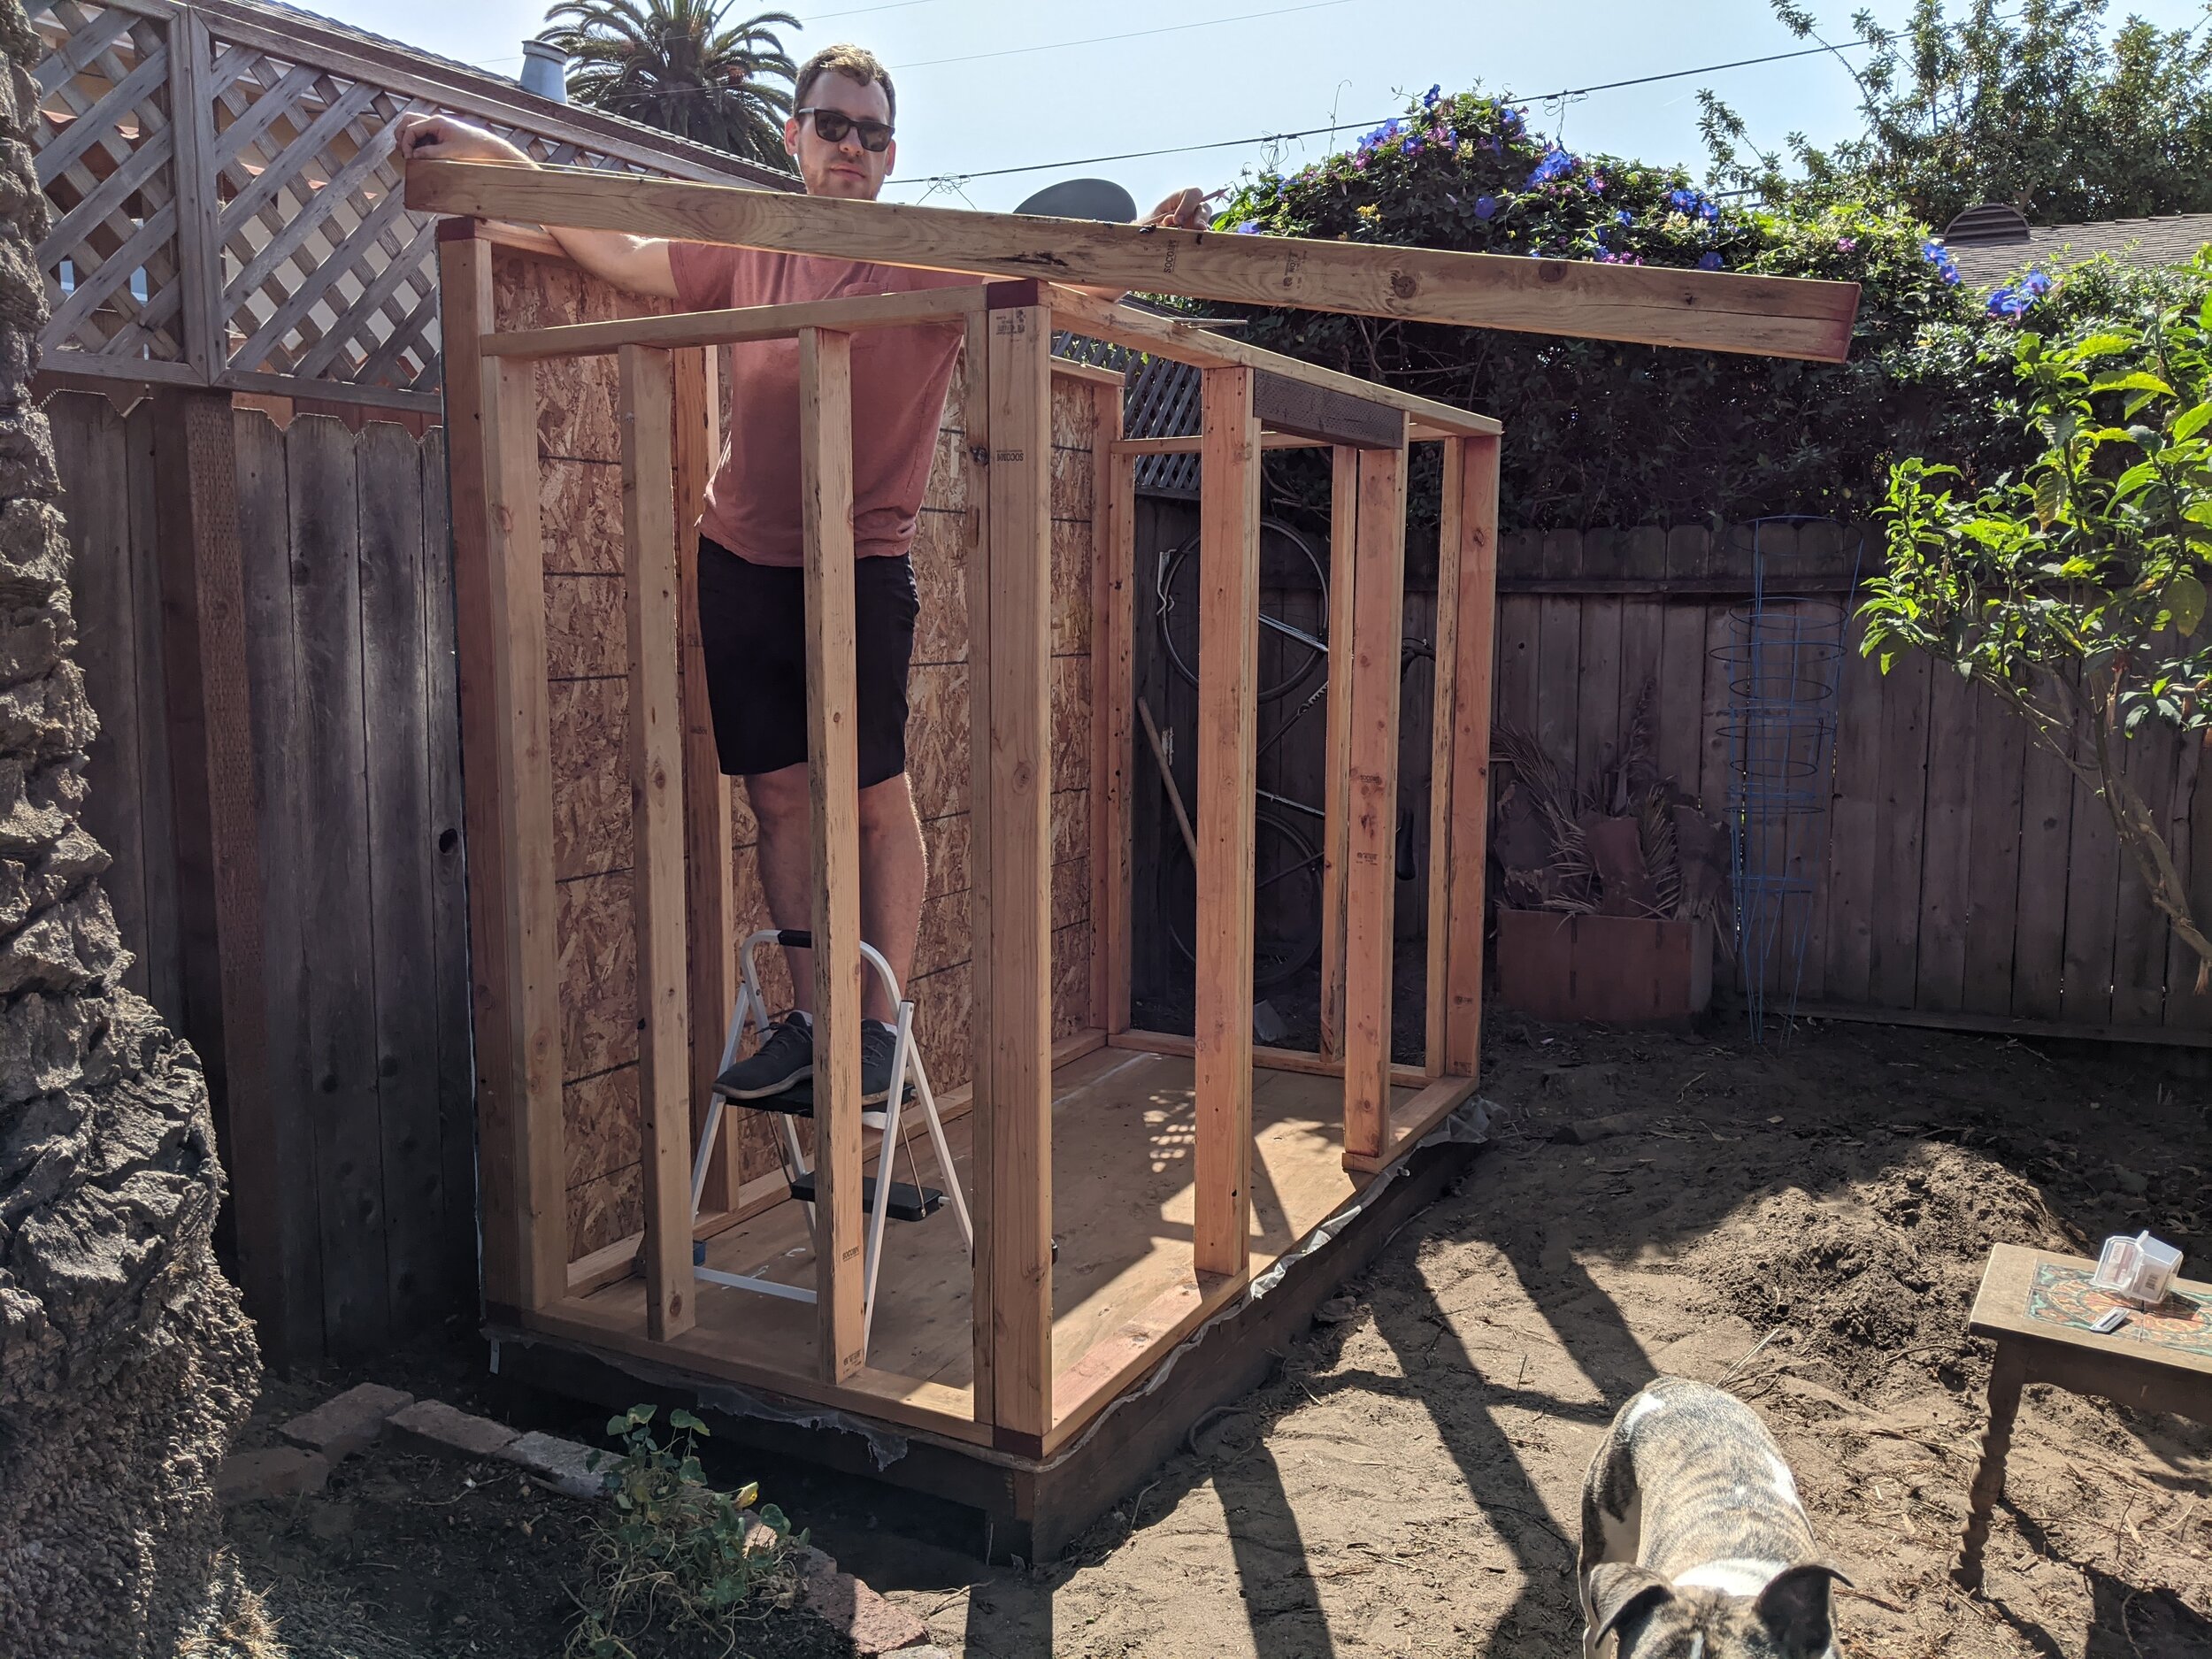
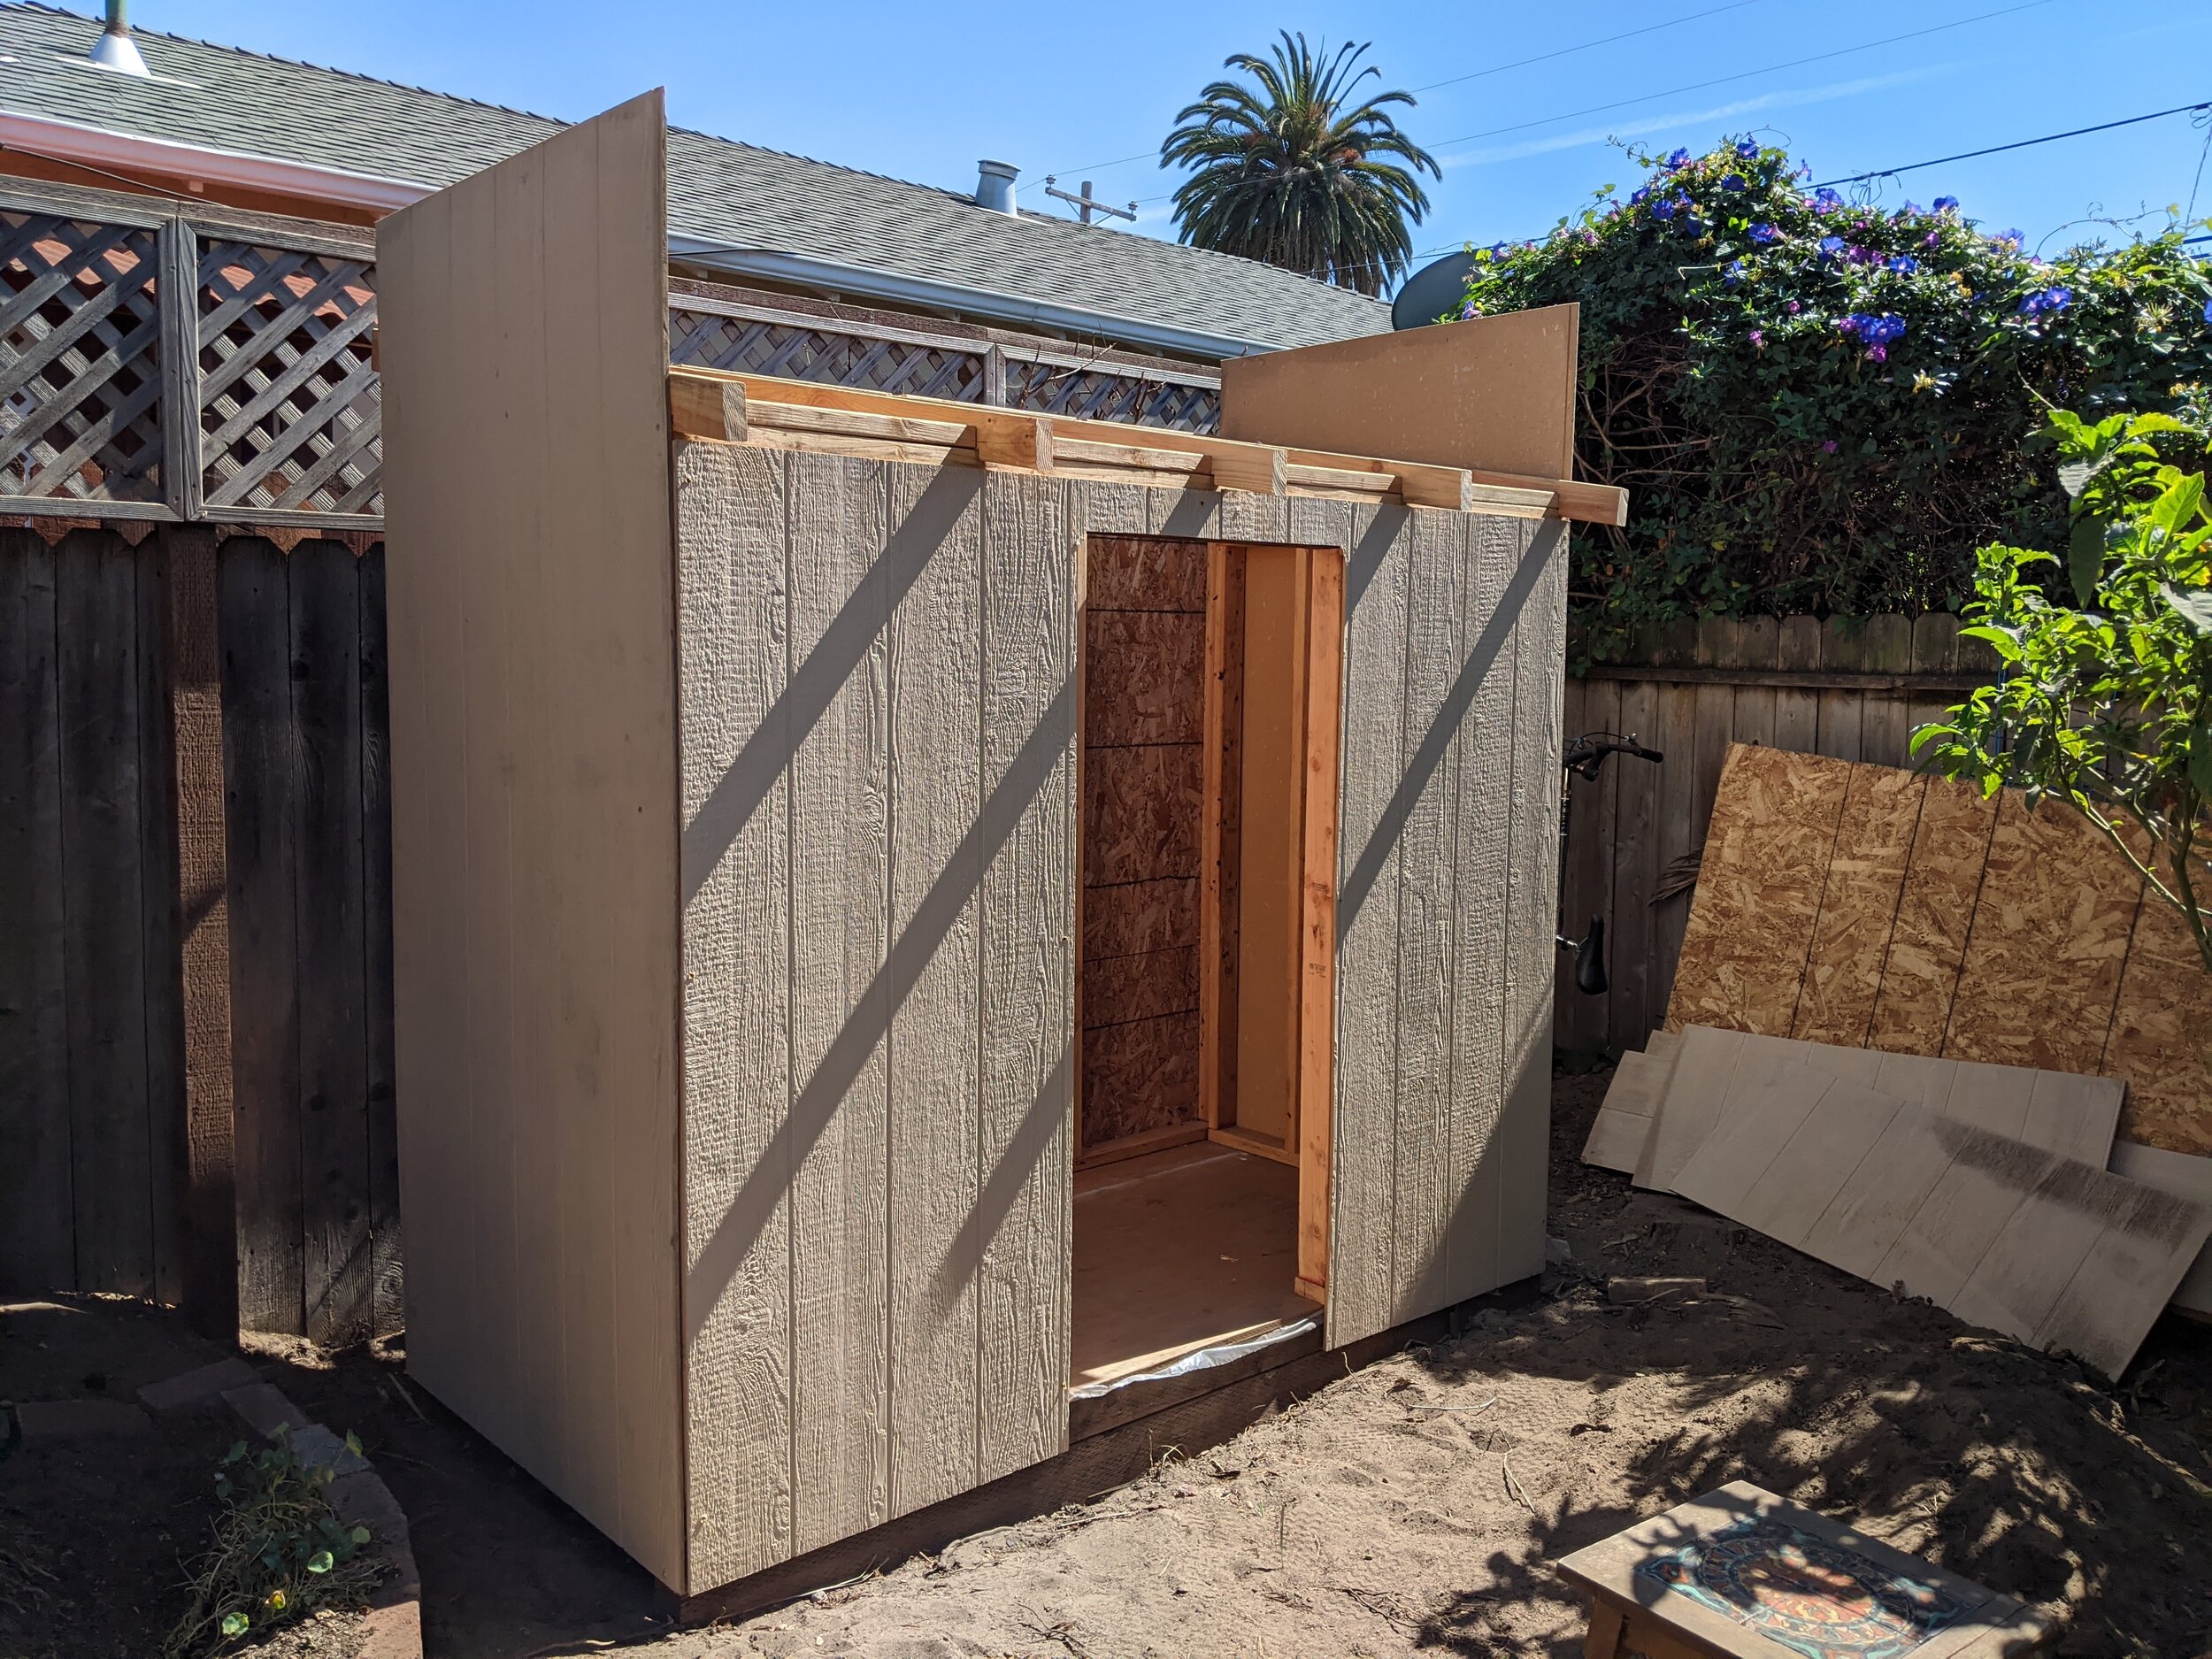
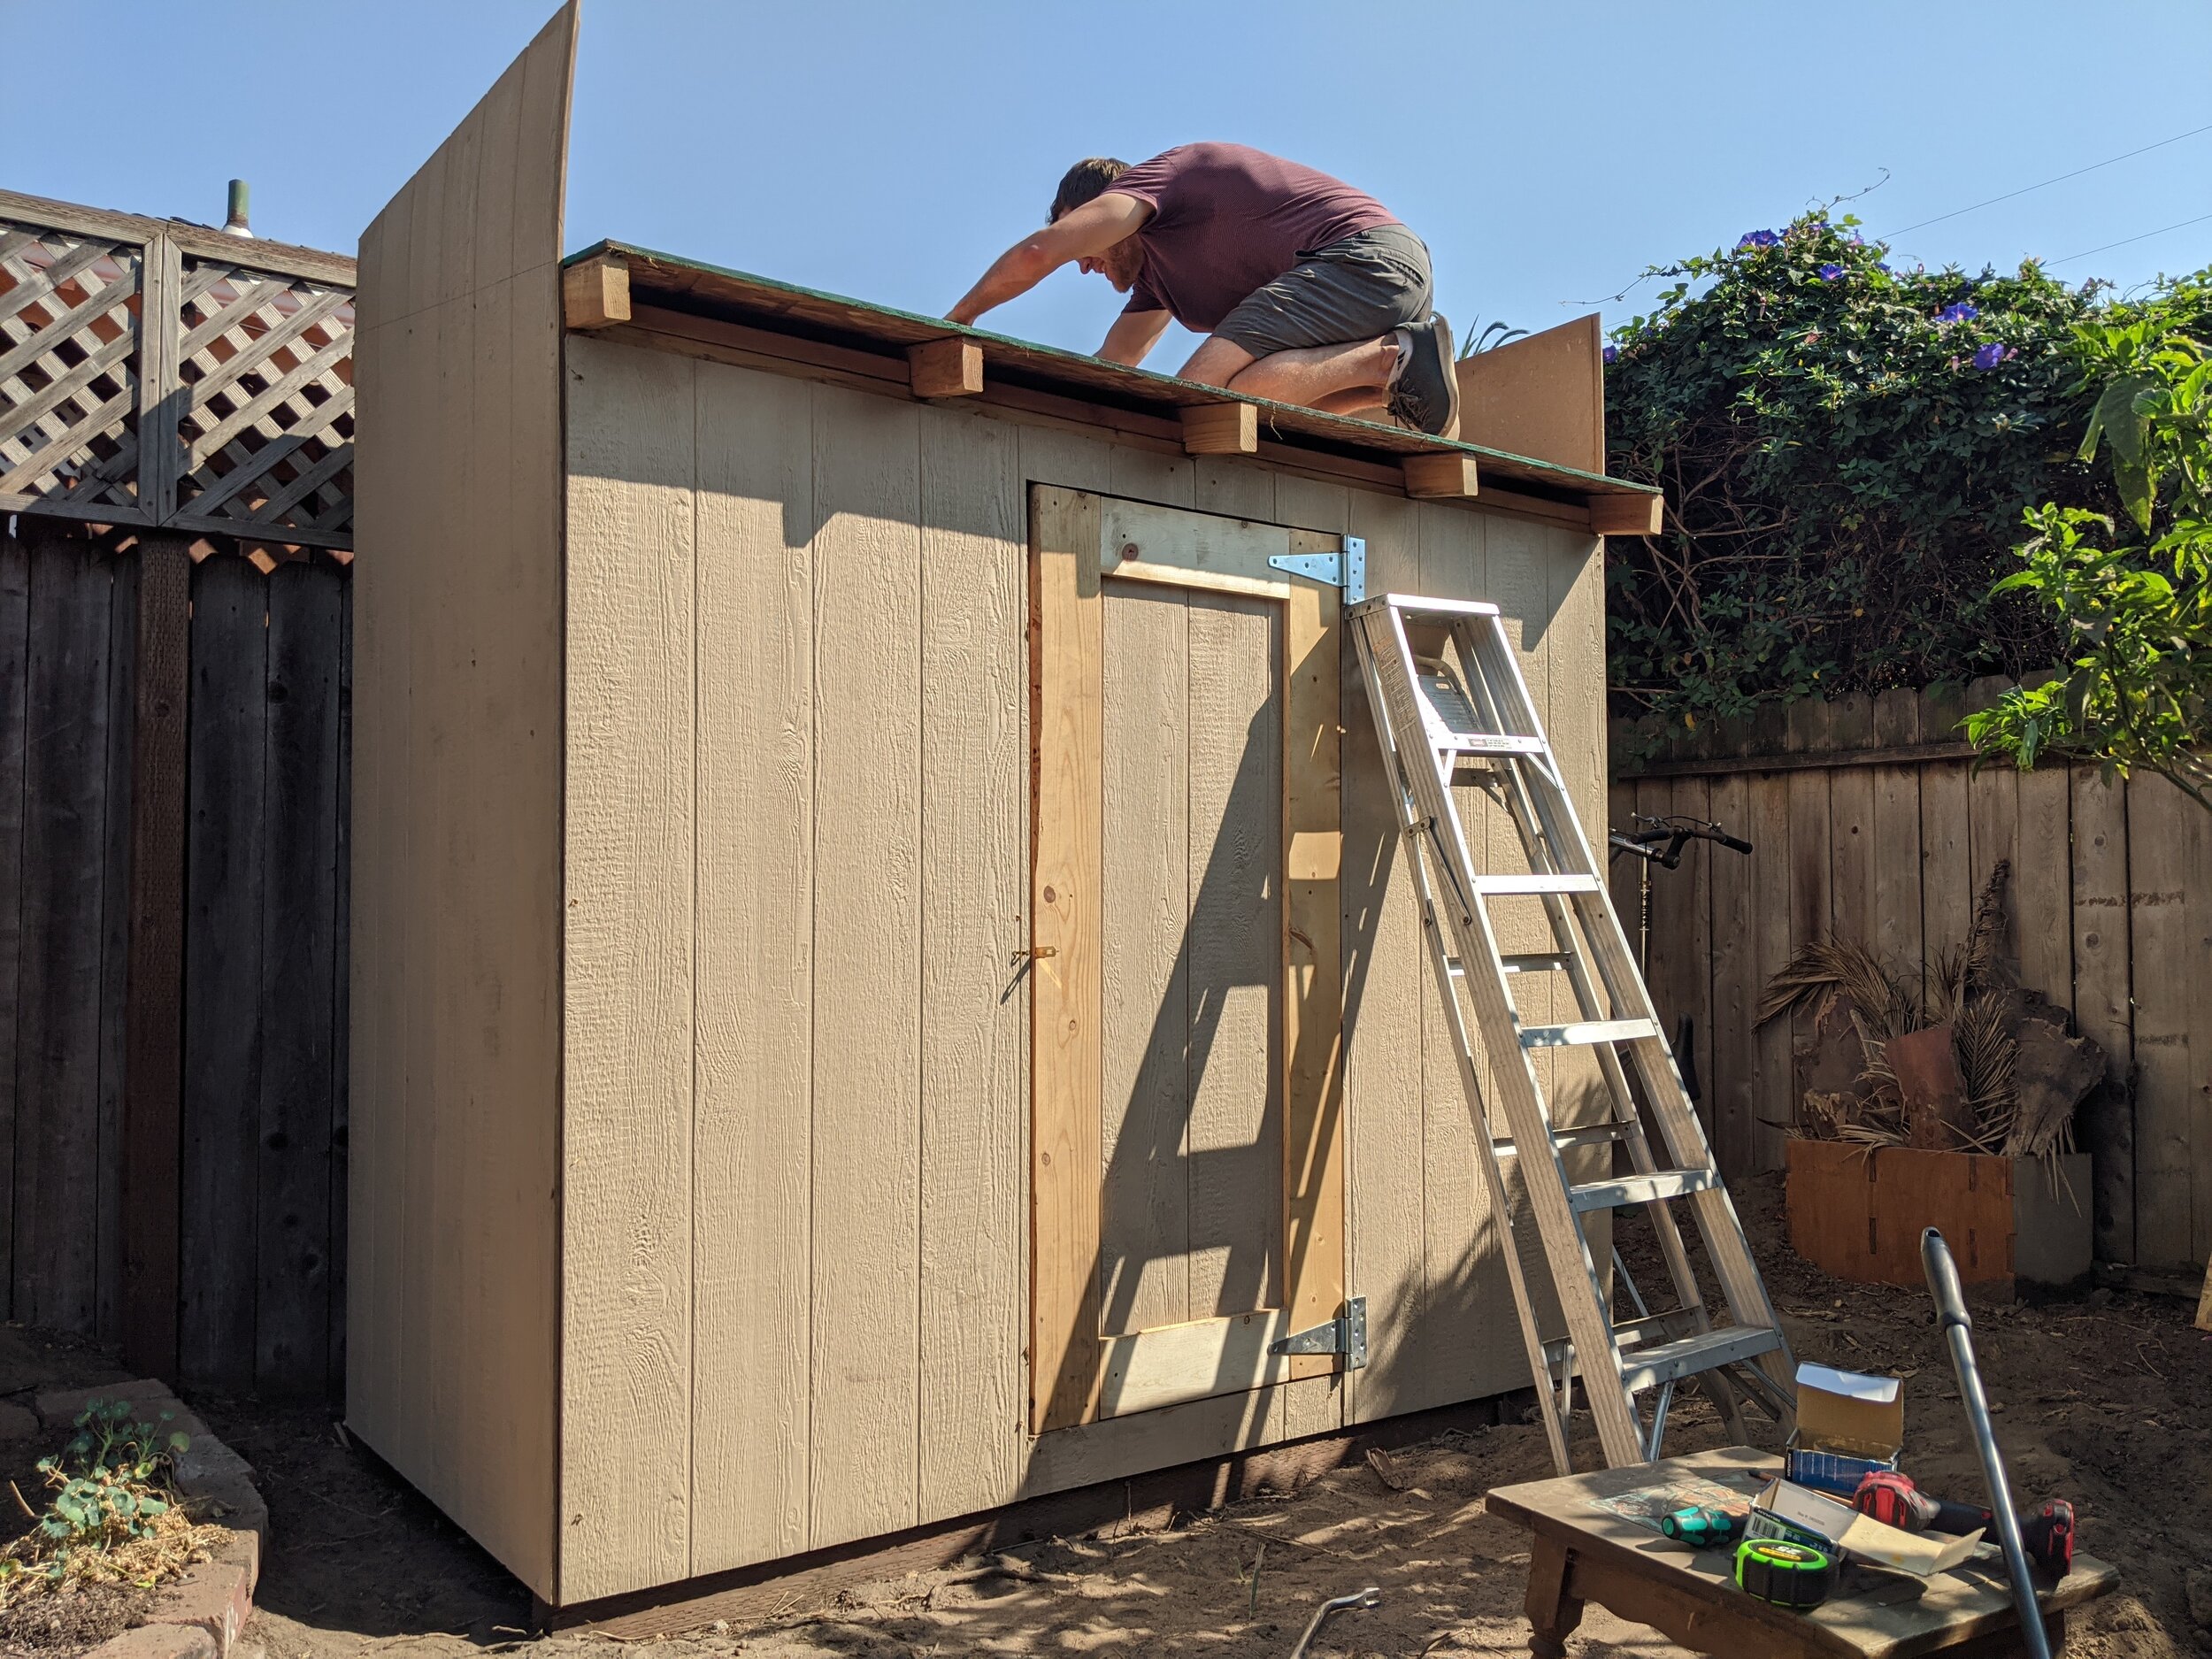
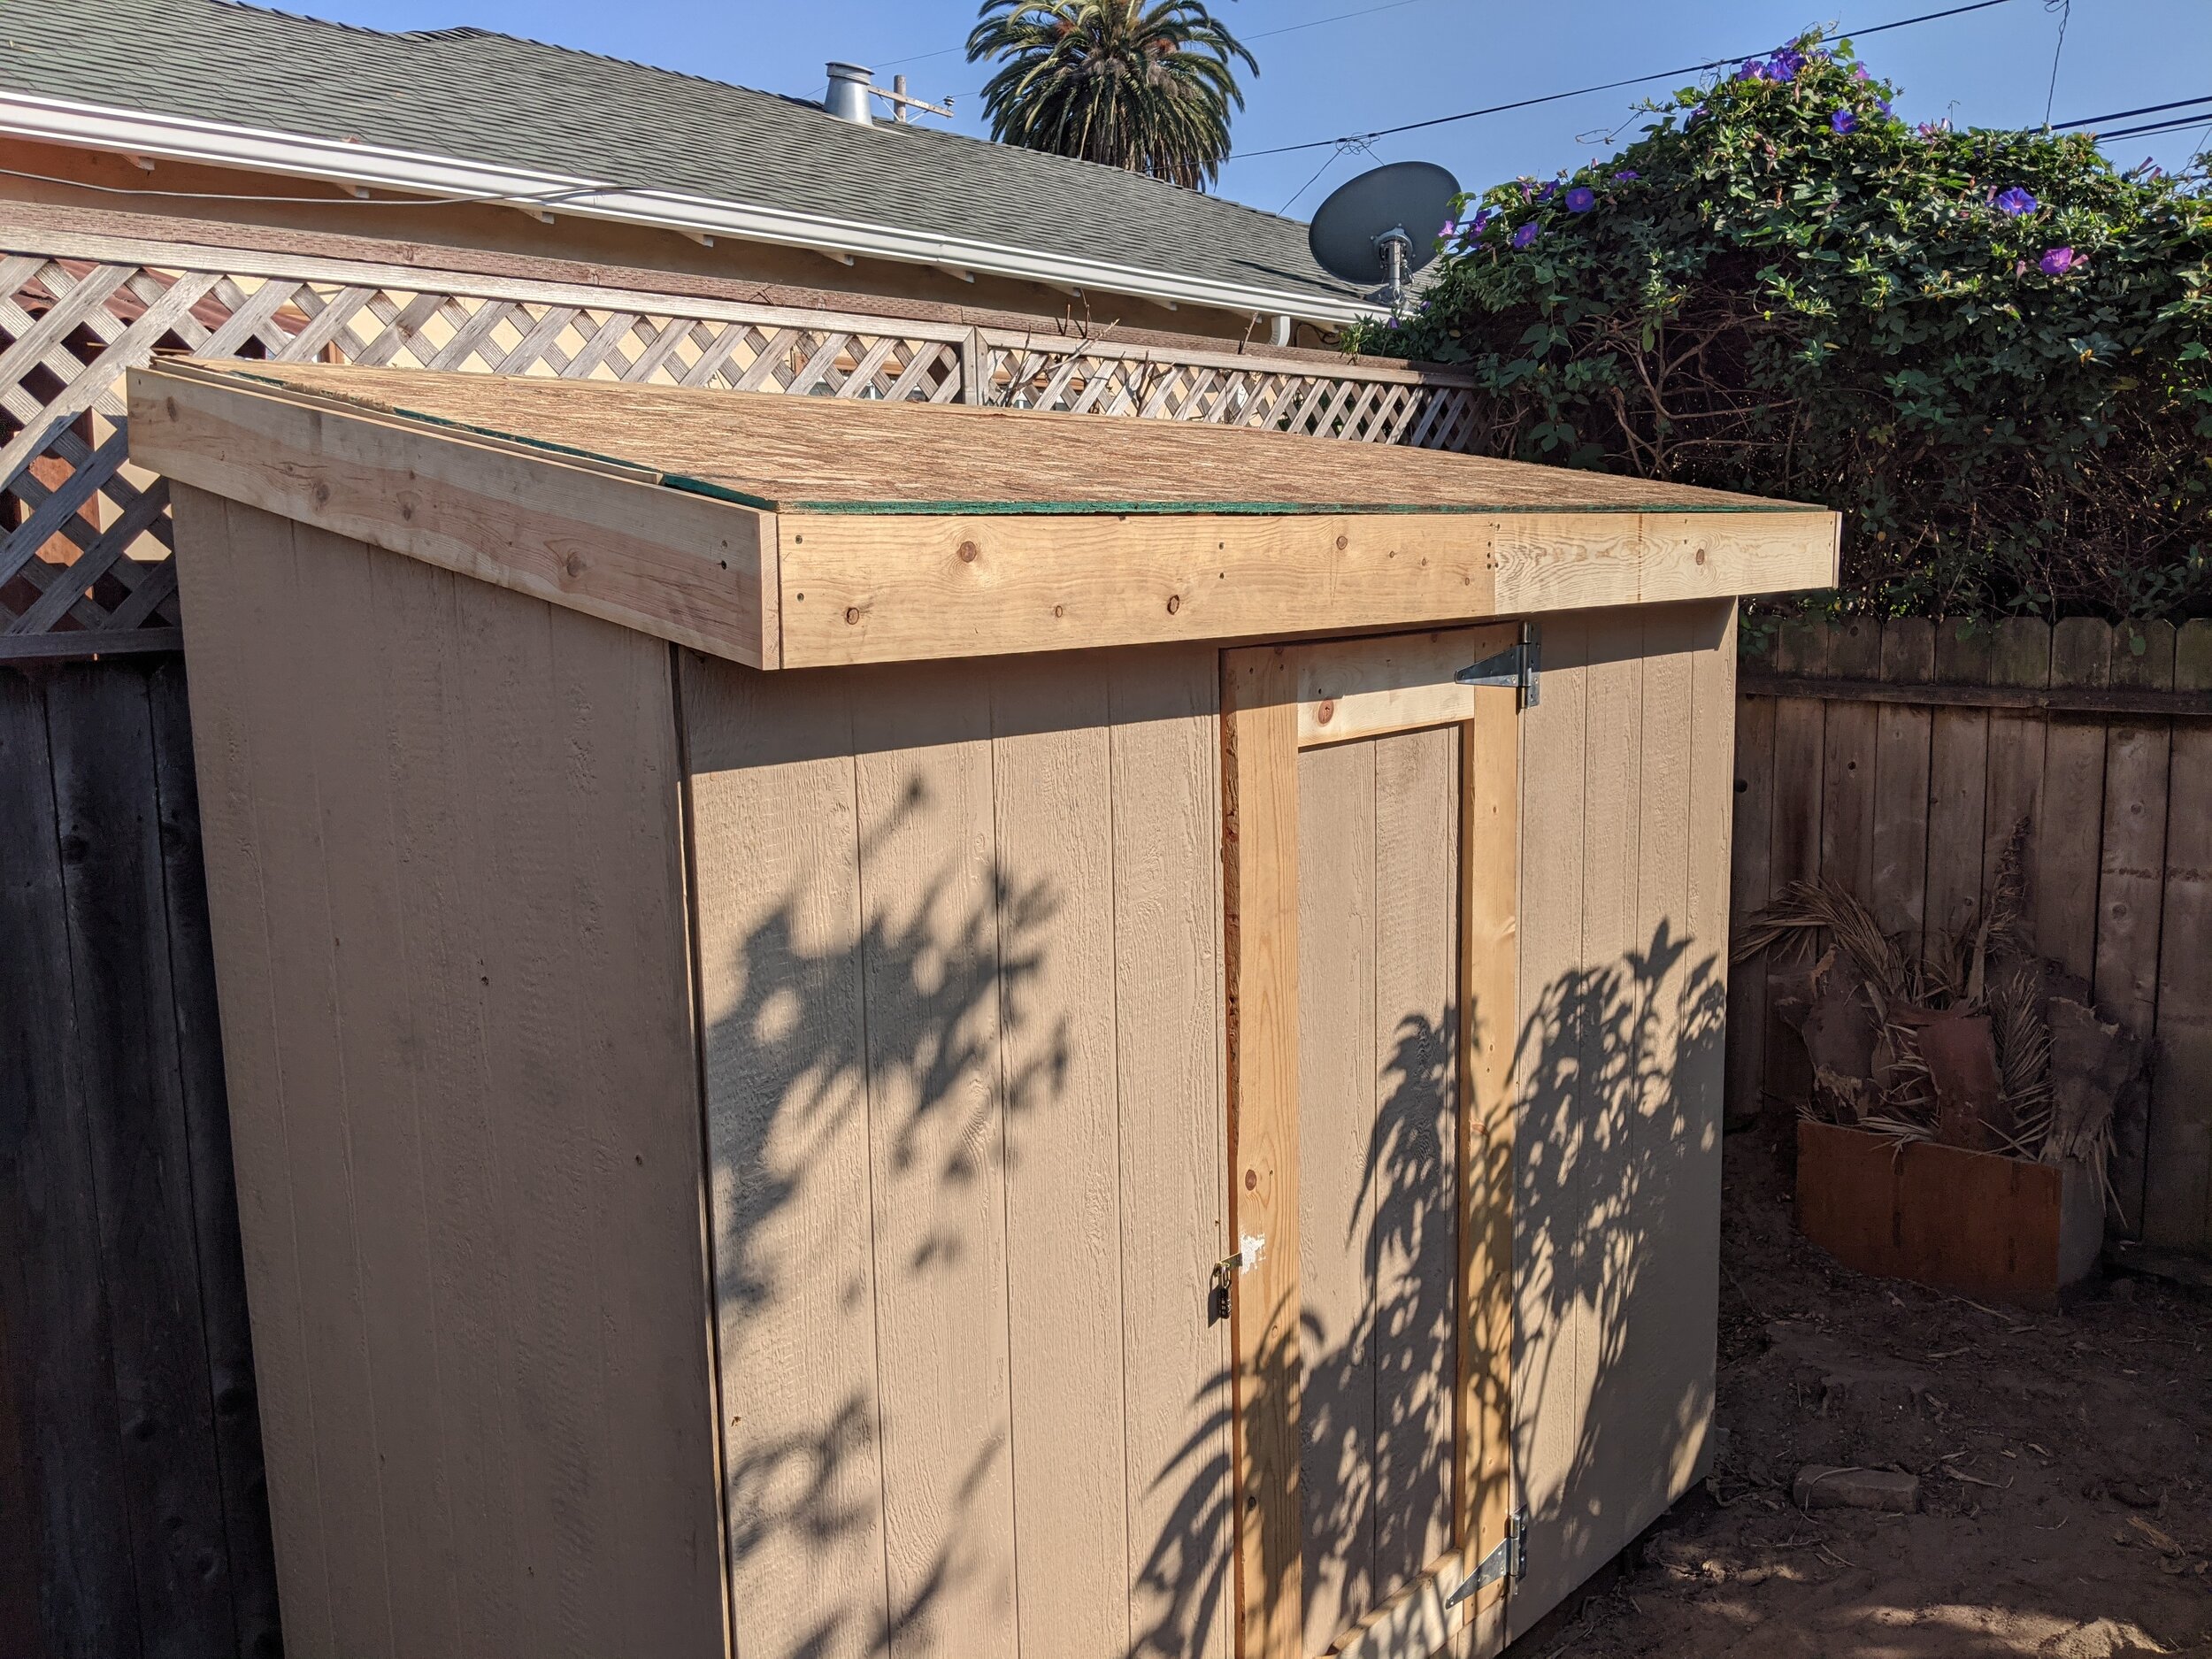
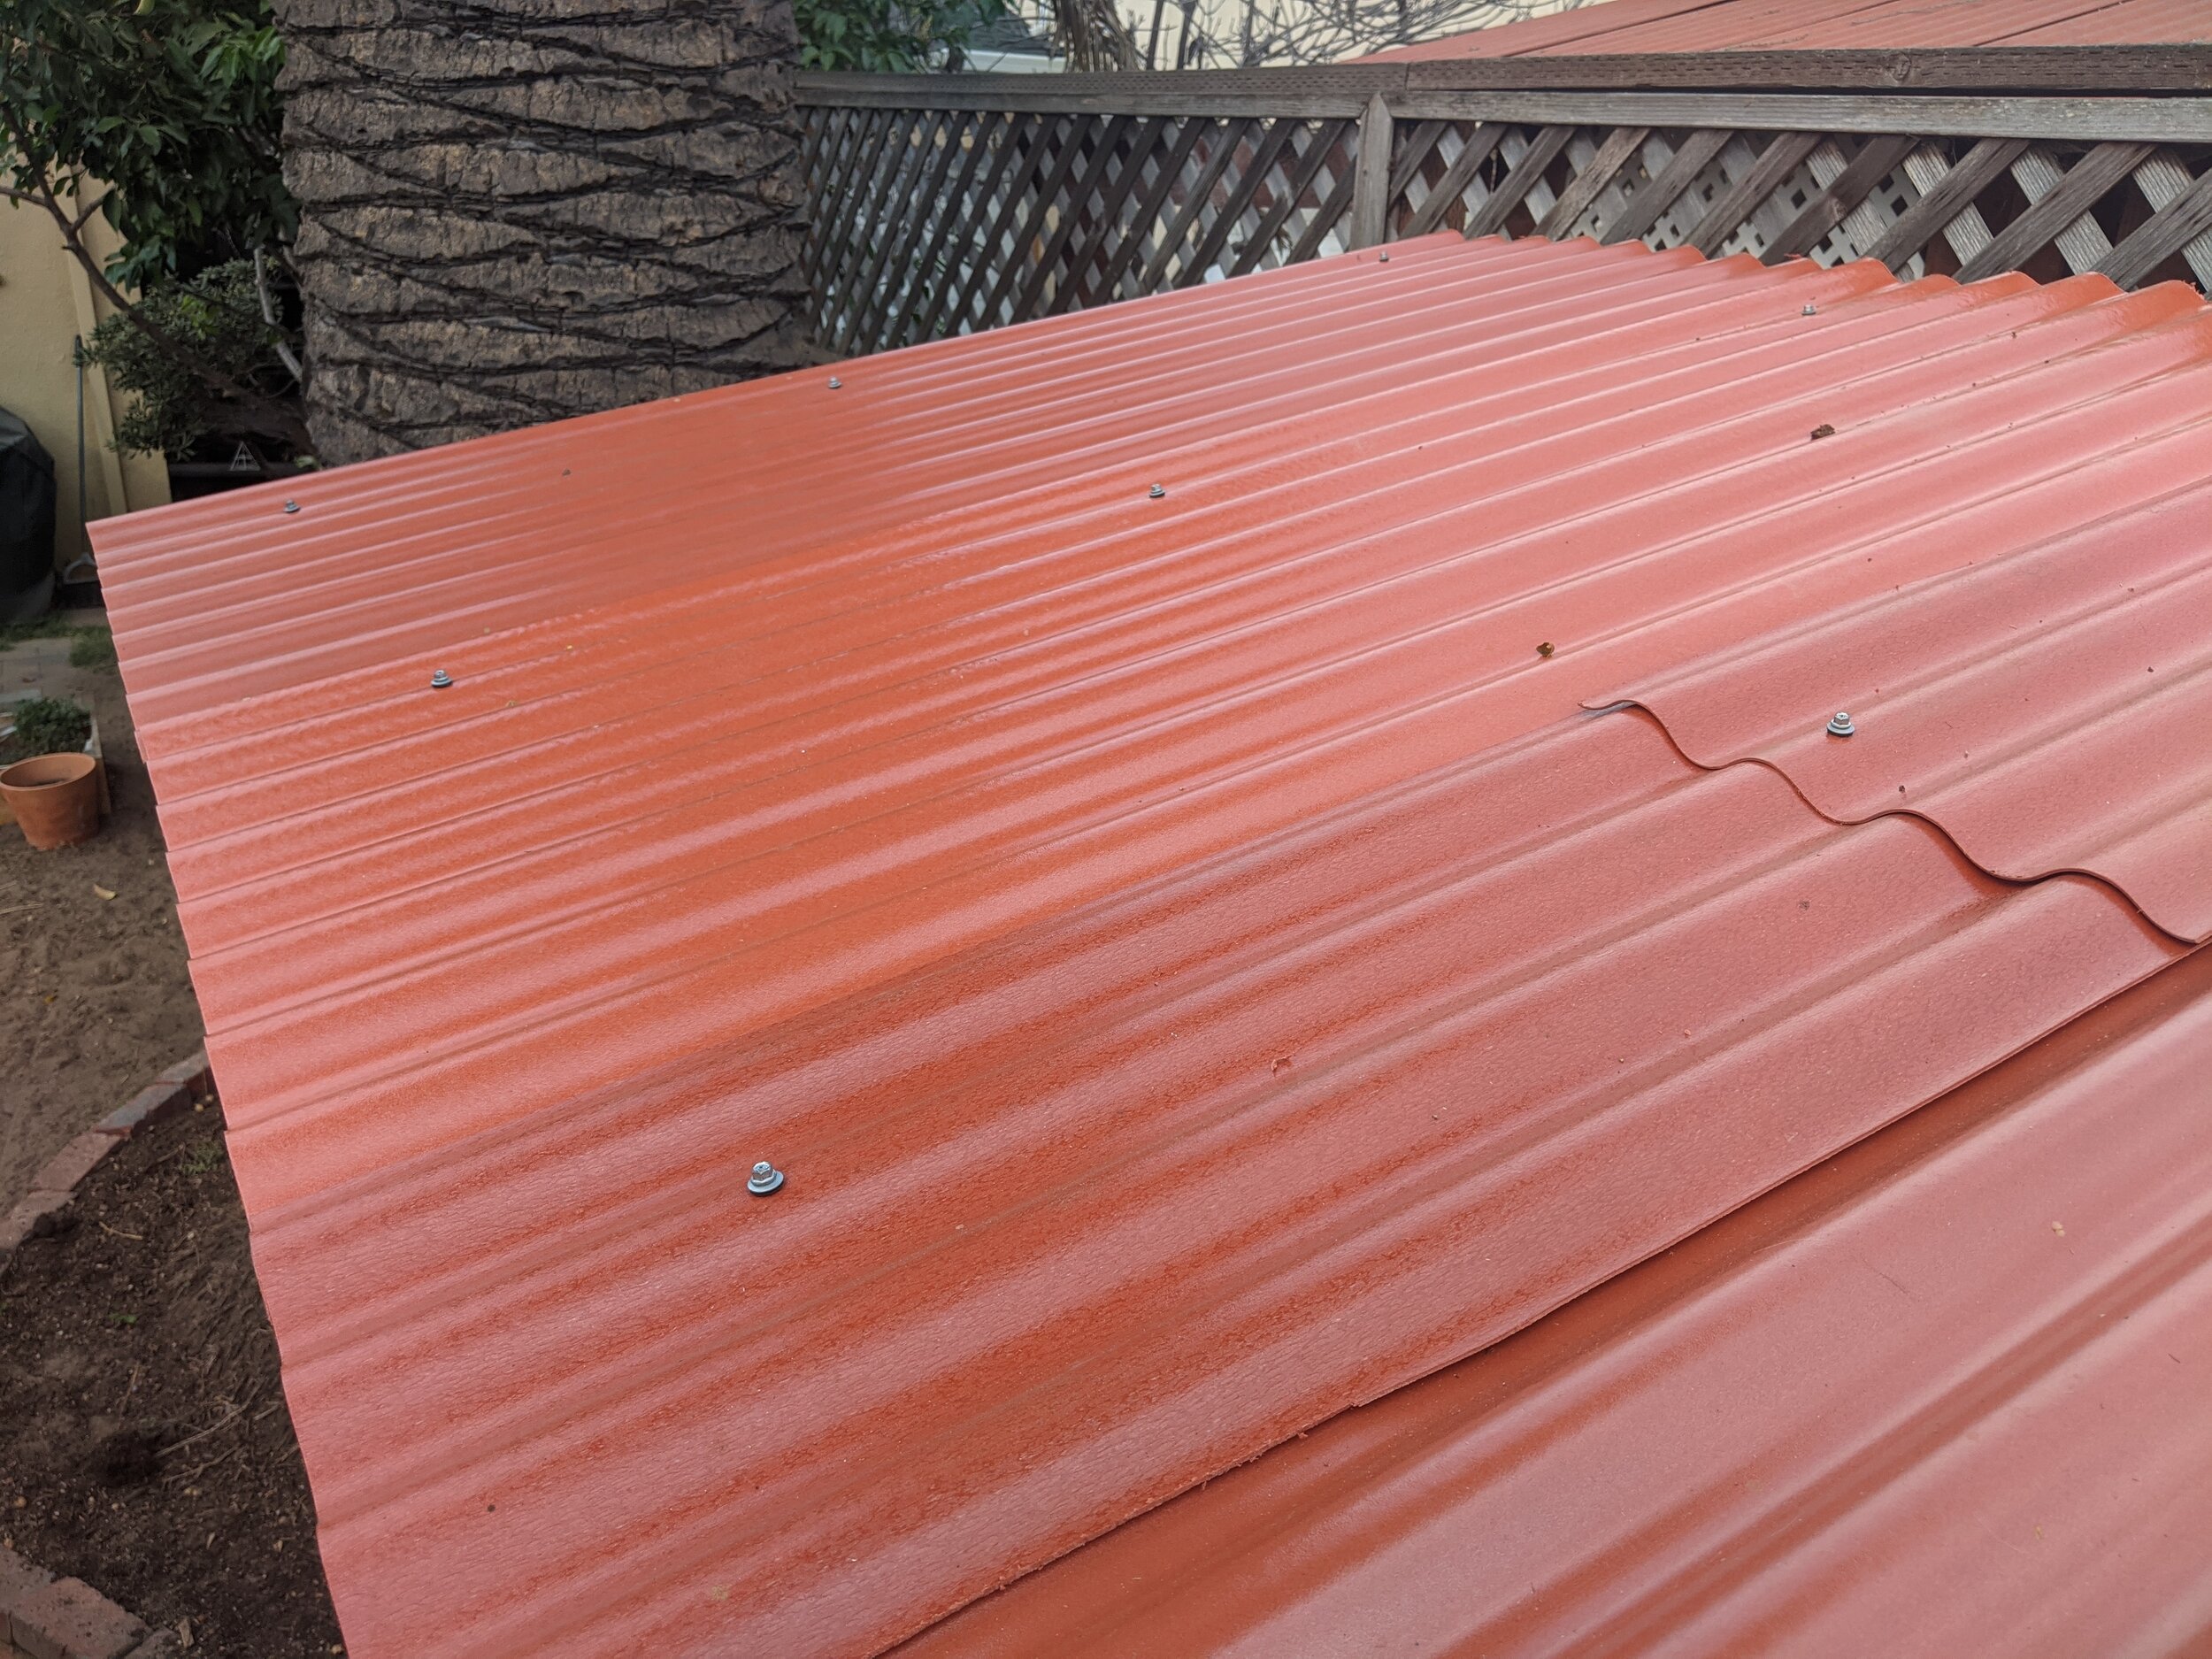
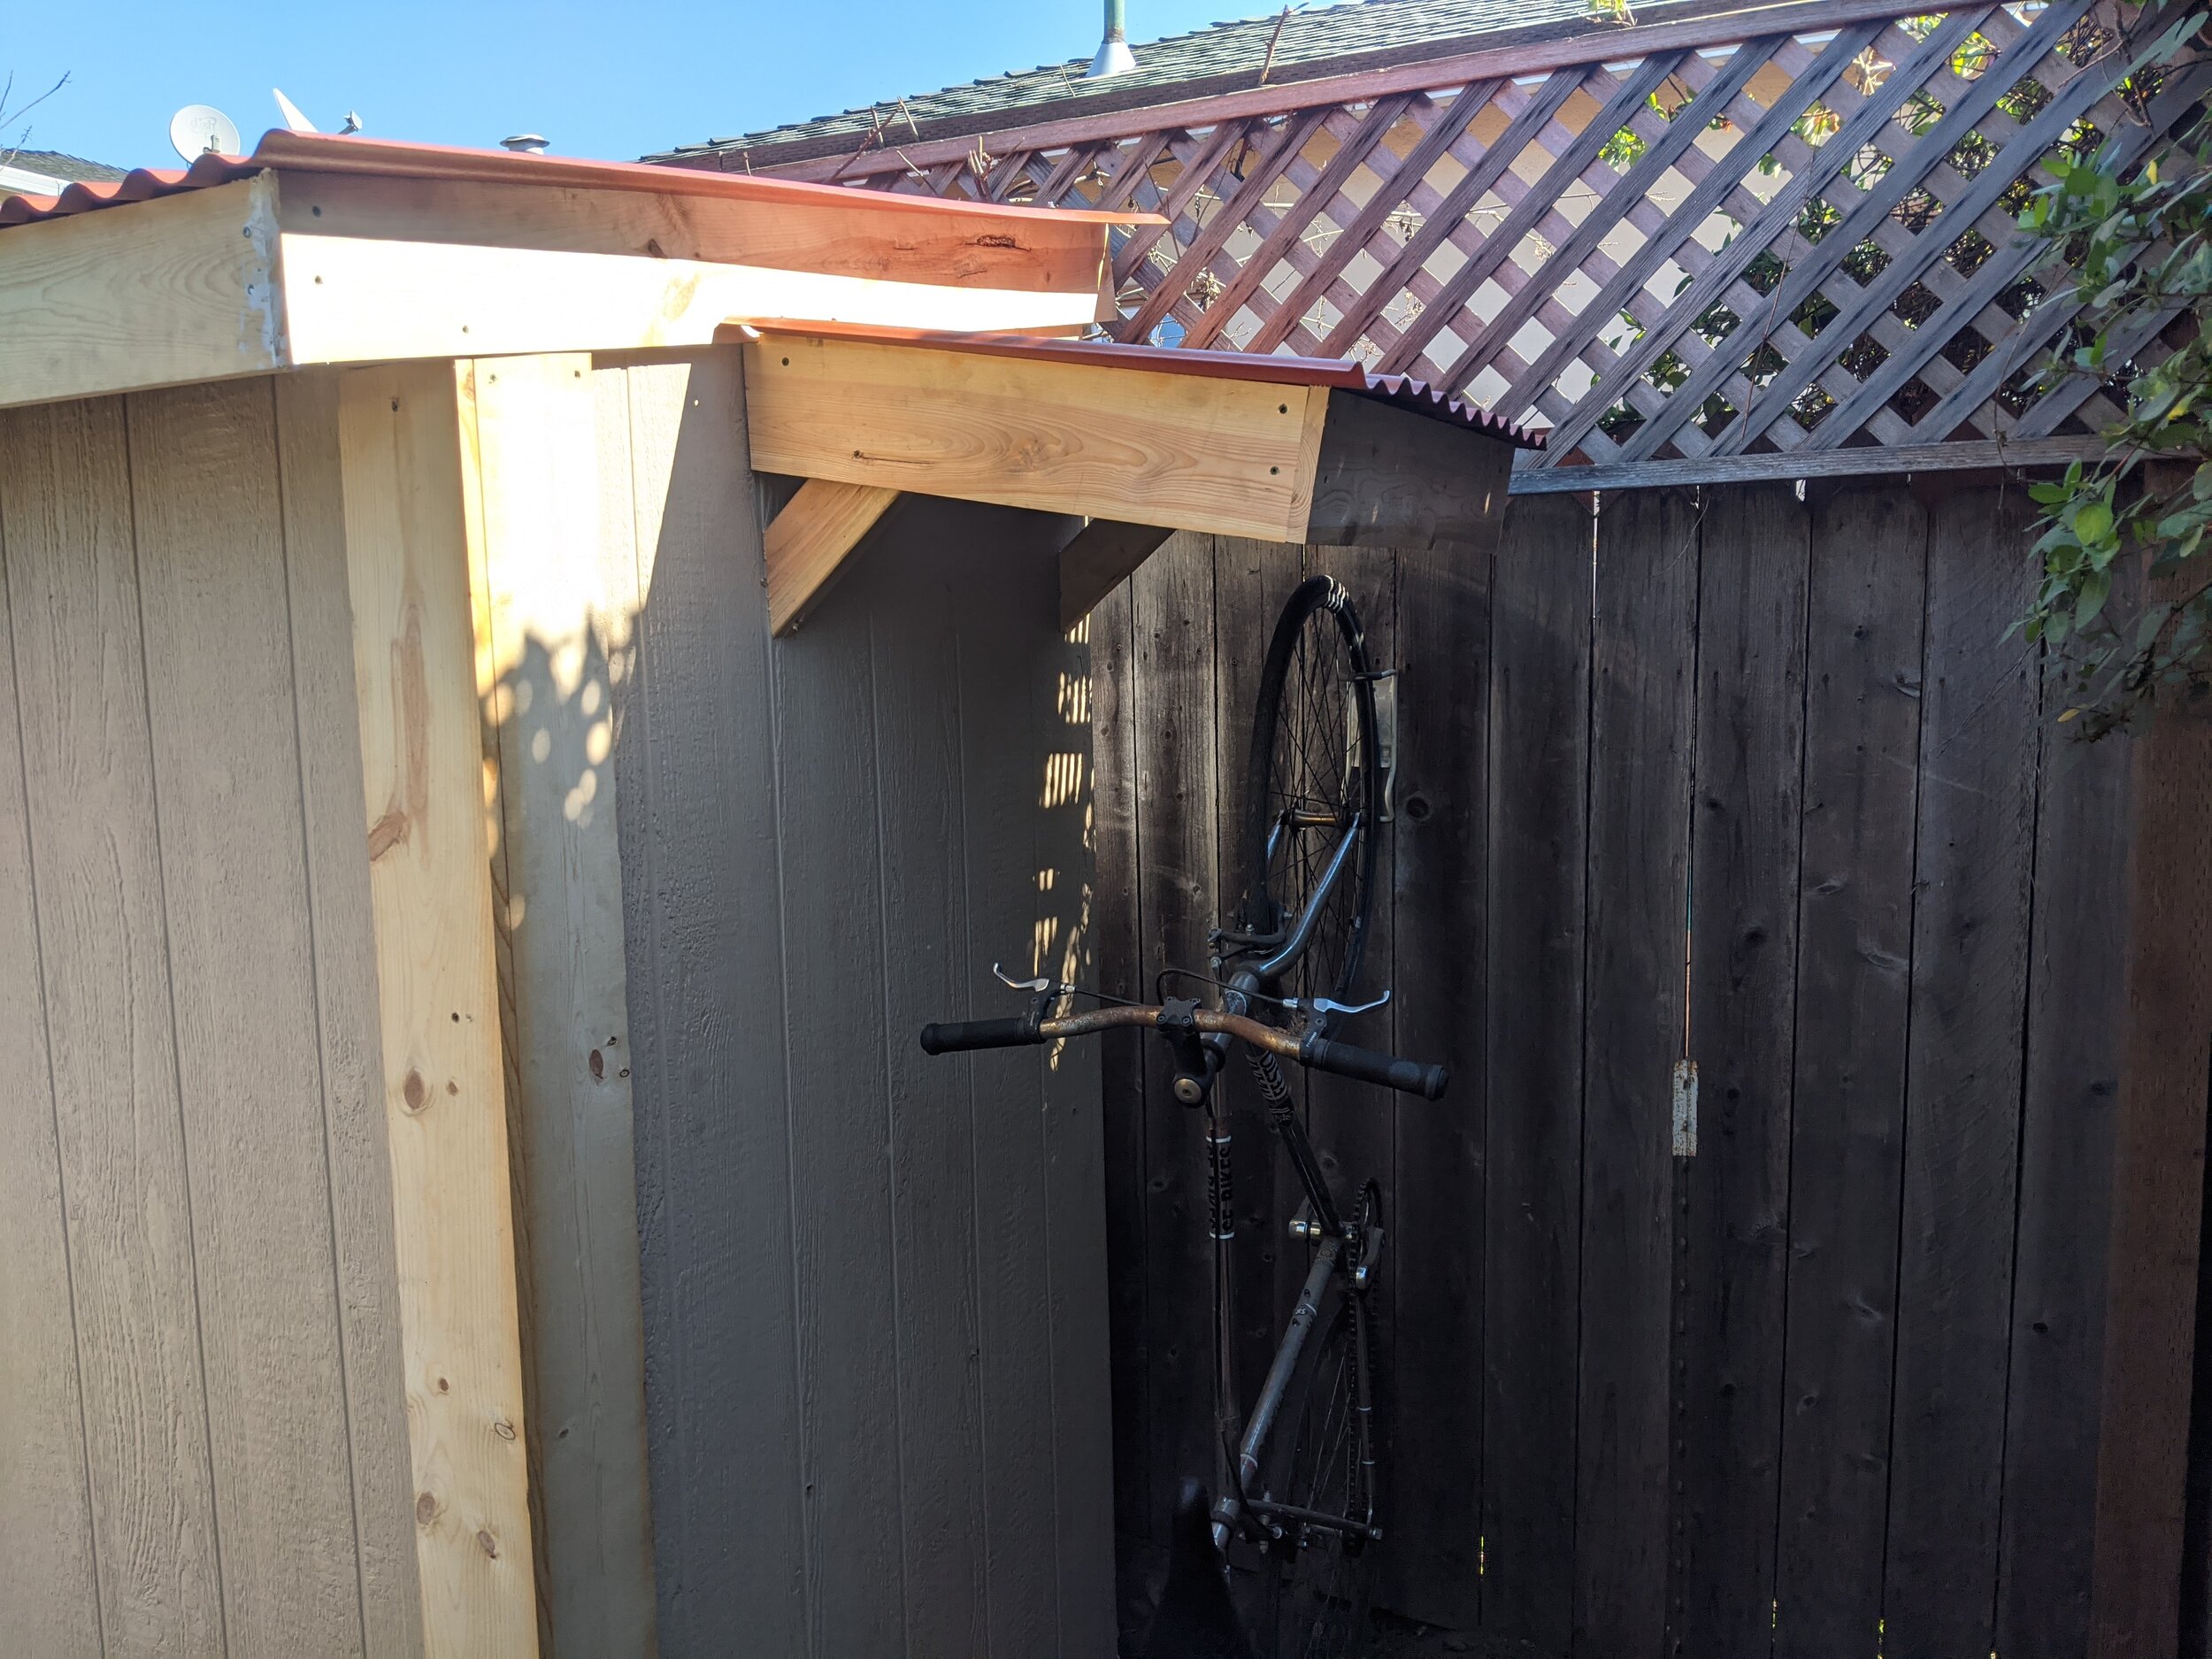
Once the main structure of the shed was complete, I added a small roof off to the side to protect my wife’s bike from the rain. Scroll through the below images to see the build process.